2 easy tips for a designer Christmas tree from a professional holiday designer
Finally! We can now reasonably play our Christmas music through our halls and offices (not that we weren’t secretly listening for weeks through our headphones…)! And that also means the LeCroissant Catering & Events Christmas tree is elegantly on display in our front entry.
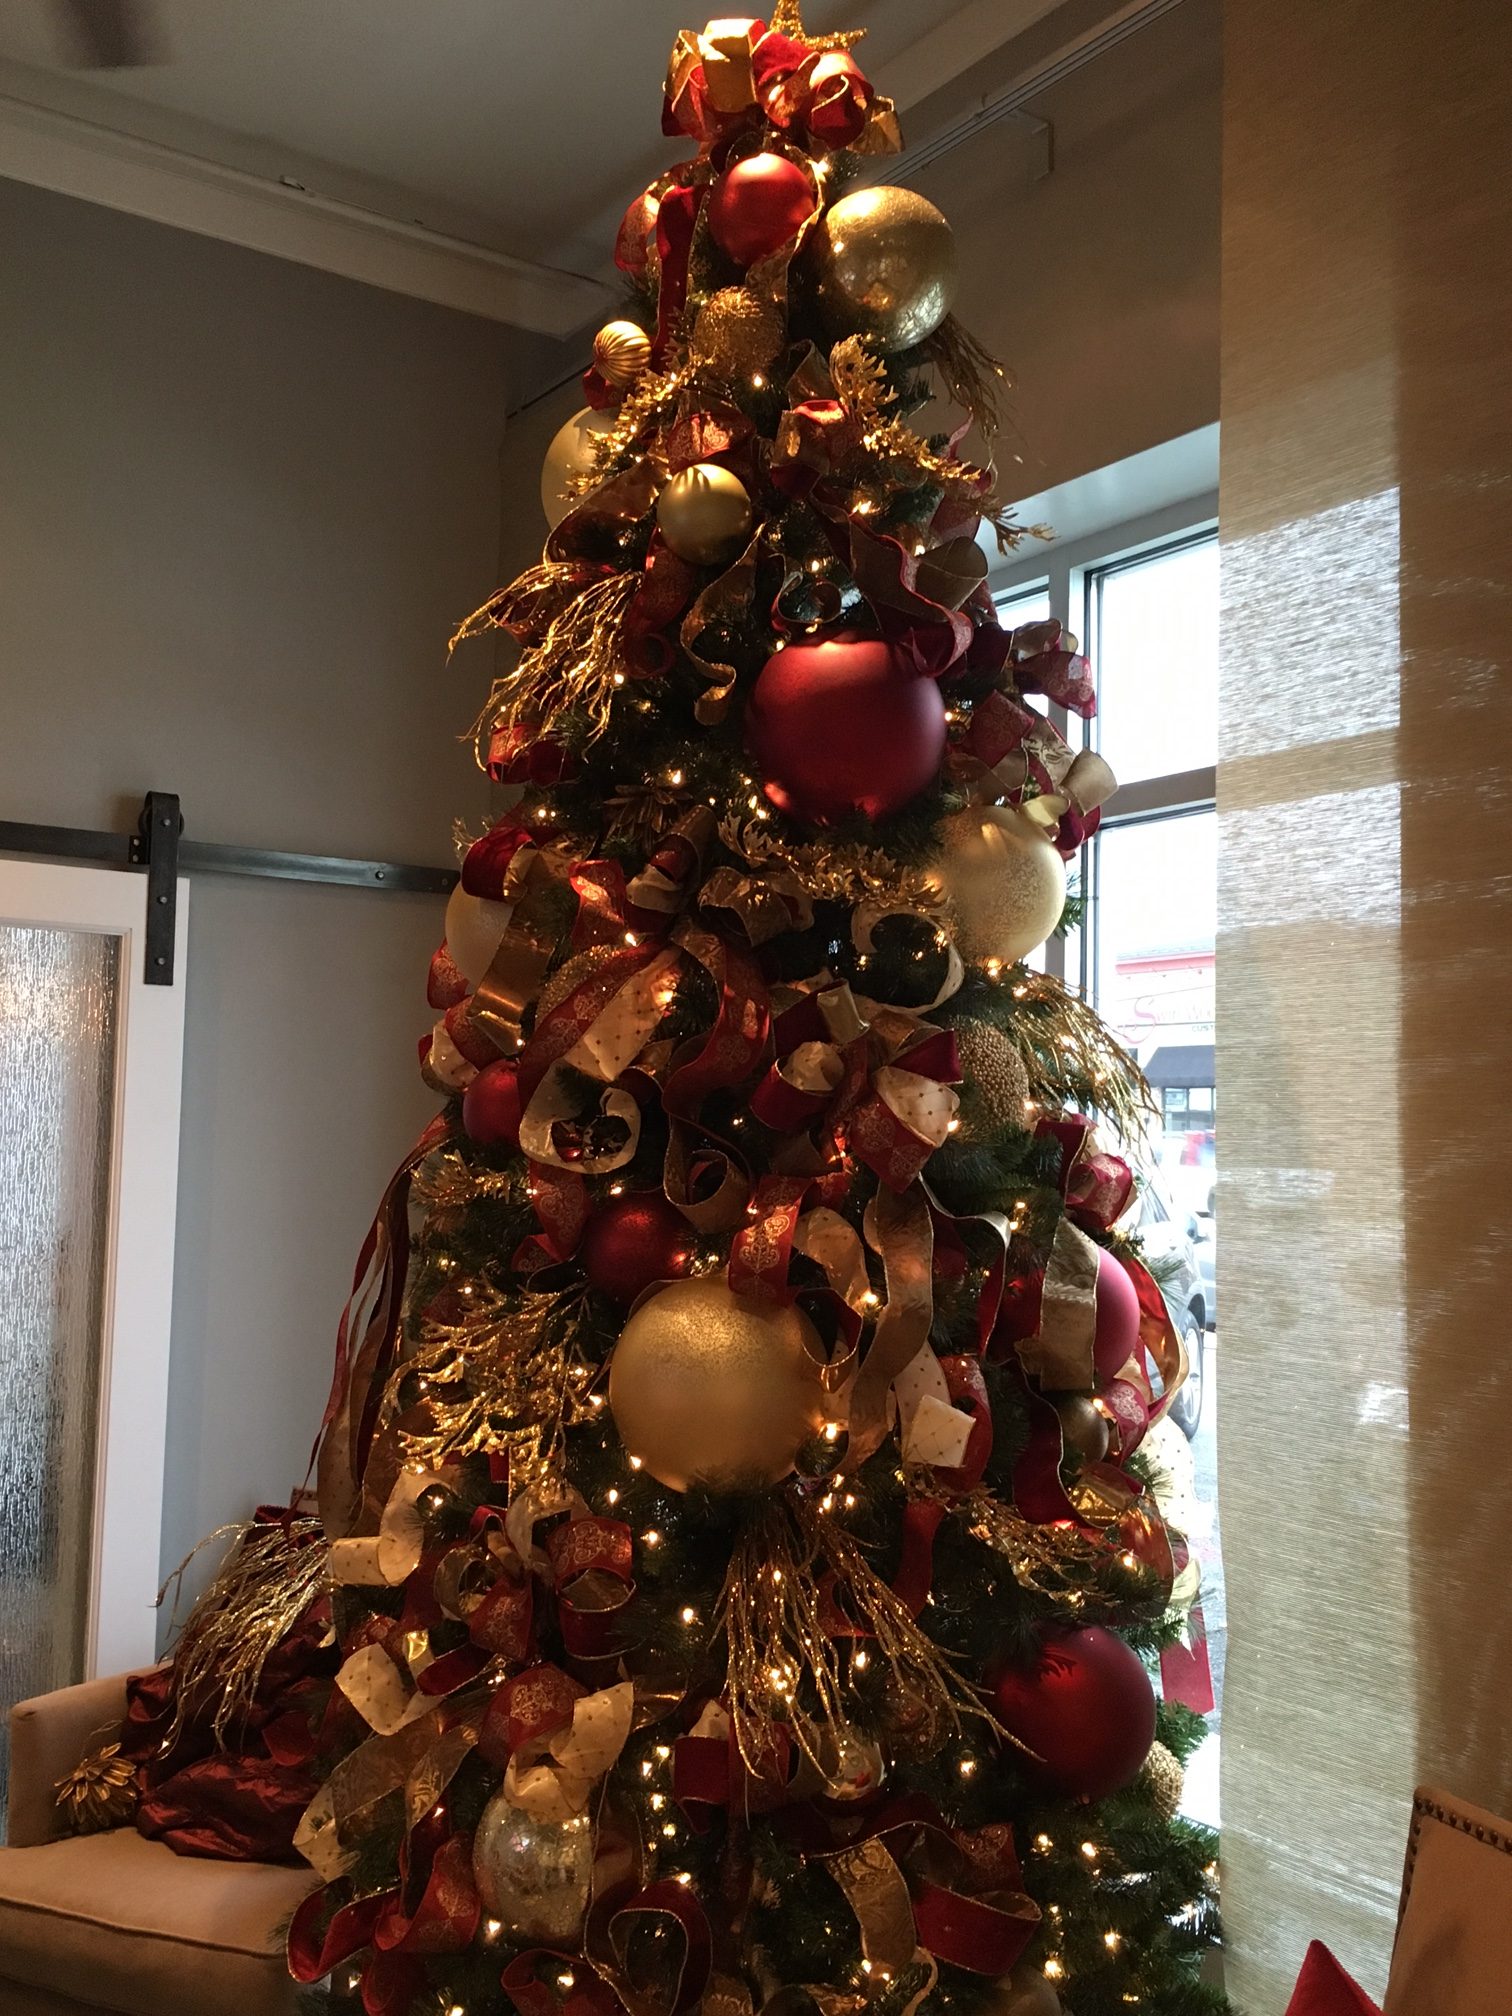
Our Director of Catering and Events, Chris Sanchez, used to professionally decorate homes for Christmas and still offers up his exceptional design skills for businesses and individuals, like Stein Eriksen Lodge Deer Valley’s event deck and of course our fabulous events! So naturally, as Christmas is his favorite holiday, he always personally sees to every minute detail of our gorgeous Christmas tree every year. Plus it gives him a chance to stretch his creativity with different and usually unconventional themes and color palettes. Last year, our tree featured bronze, cooper, silver and gold and two years ago we had a peacock themed Christmas tree!
This year, our Chief Operating Officer, Chris Lake, requested a more traditional Christmas theme and Chris Sanchez delivered an stunning and decadent traditionally themed Christmas tree! So, how do you get your Christmas tree to look like a designer Christmas tree?
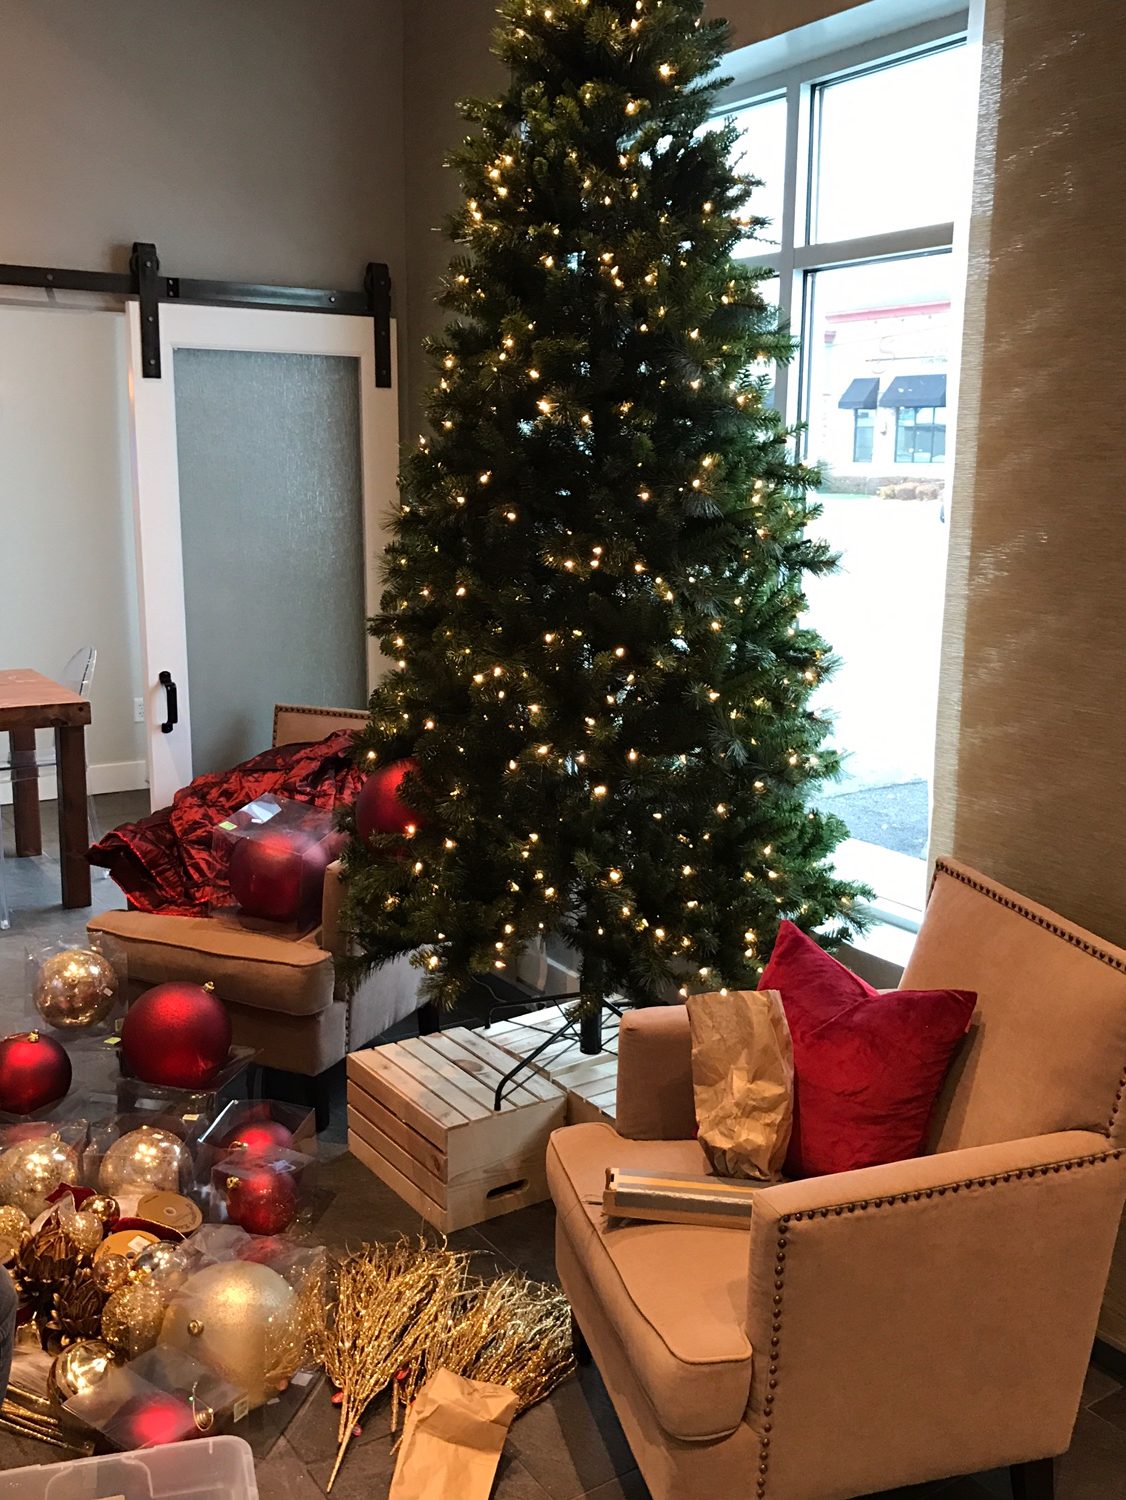
Before
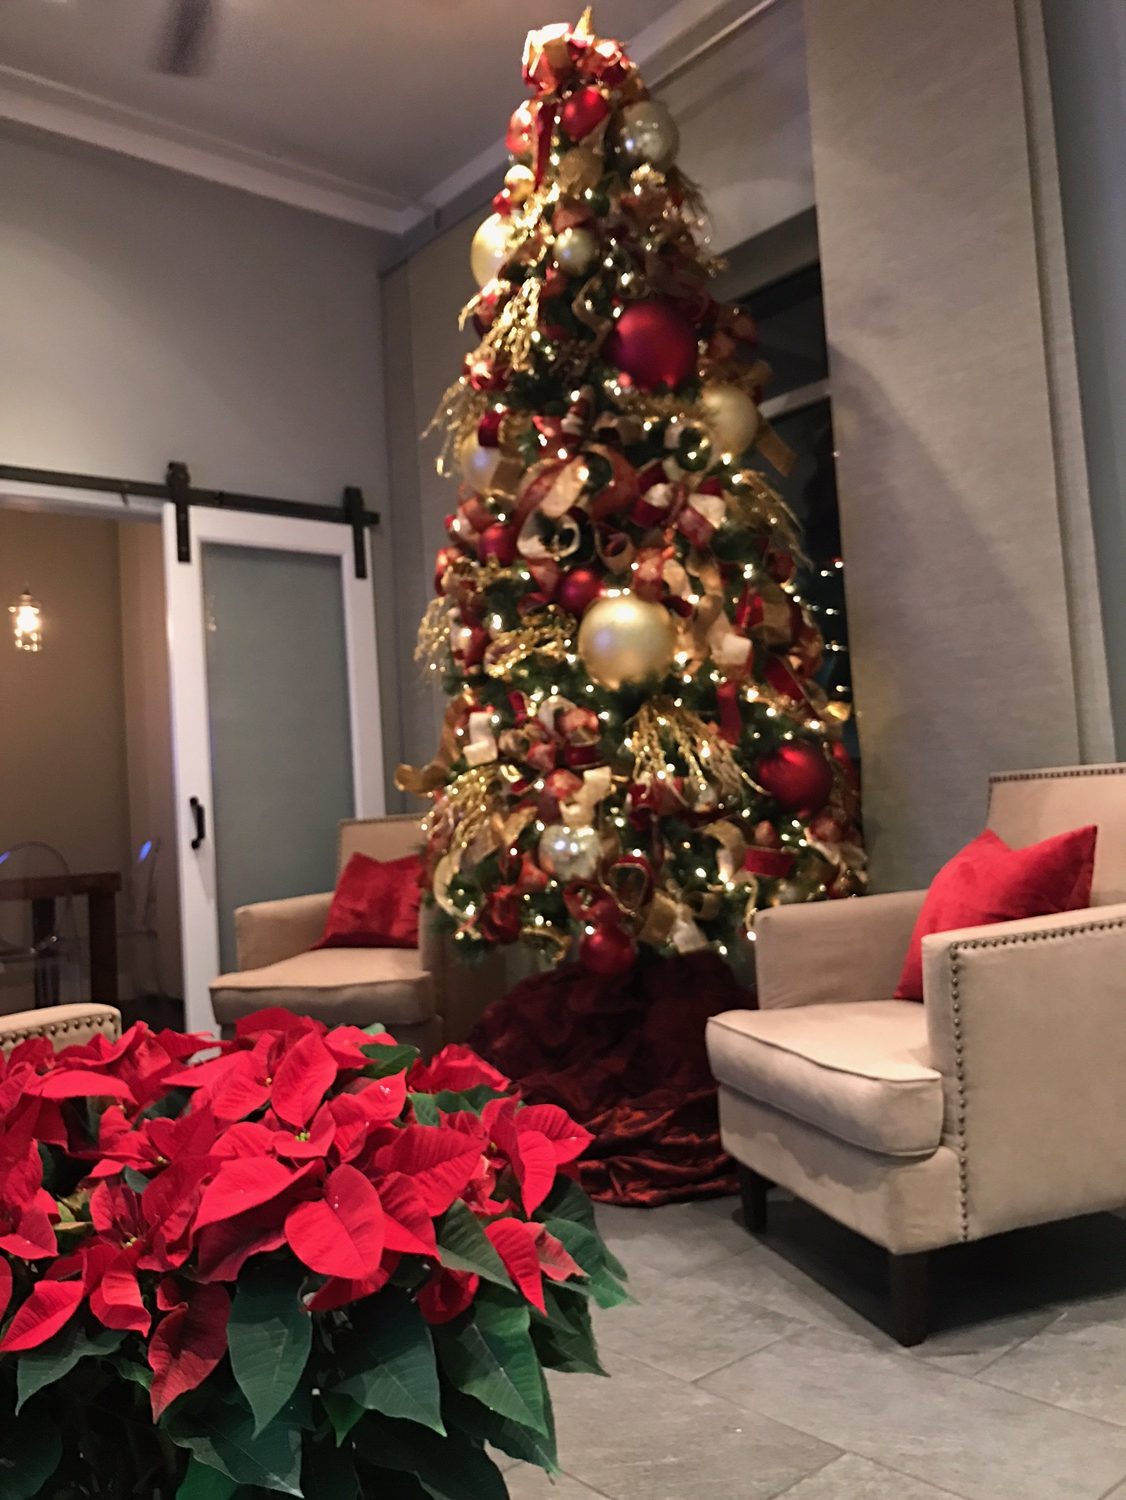
After
2 Easy Tips to Your Own Designer Christmas Tree
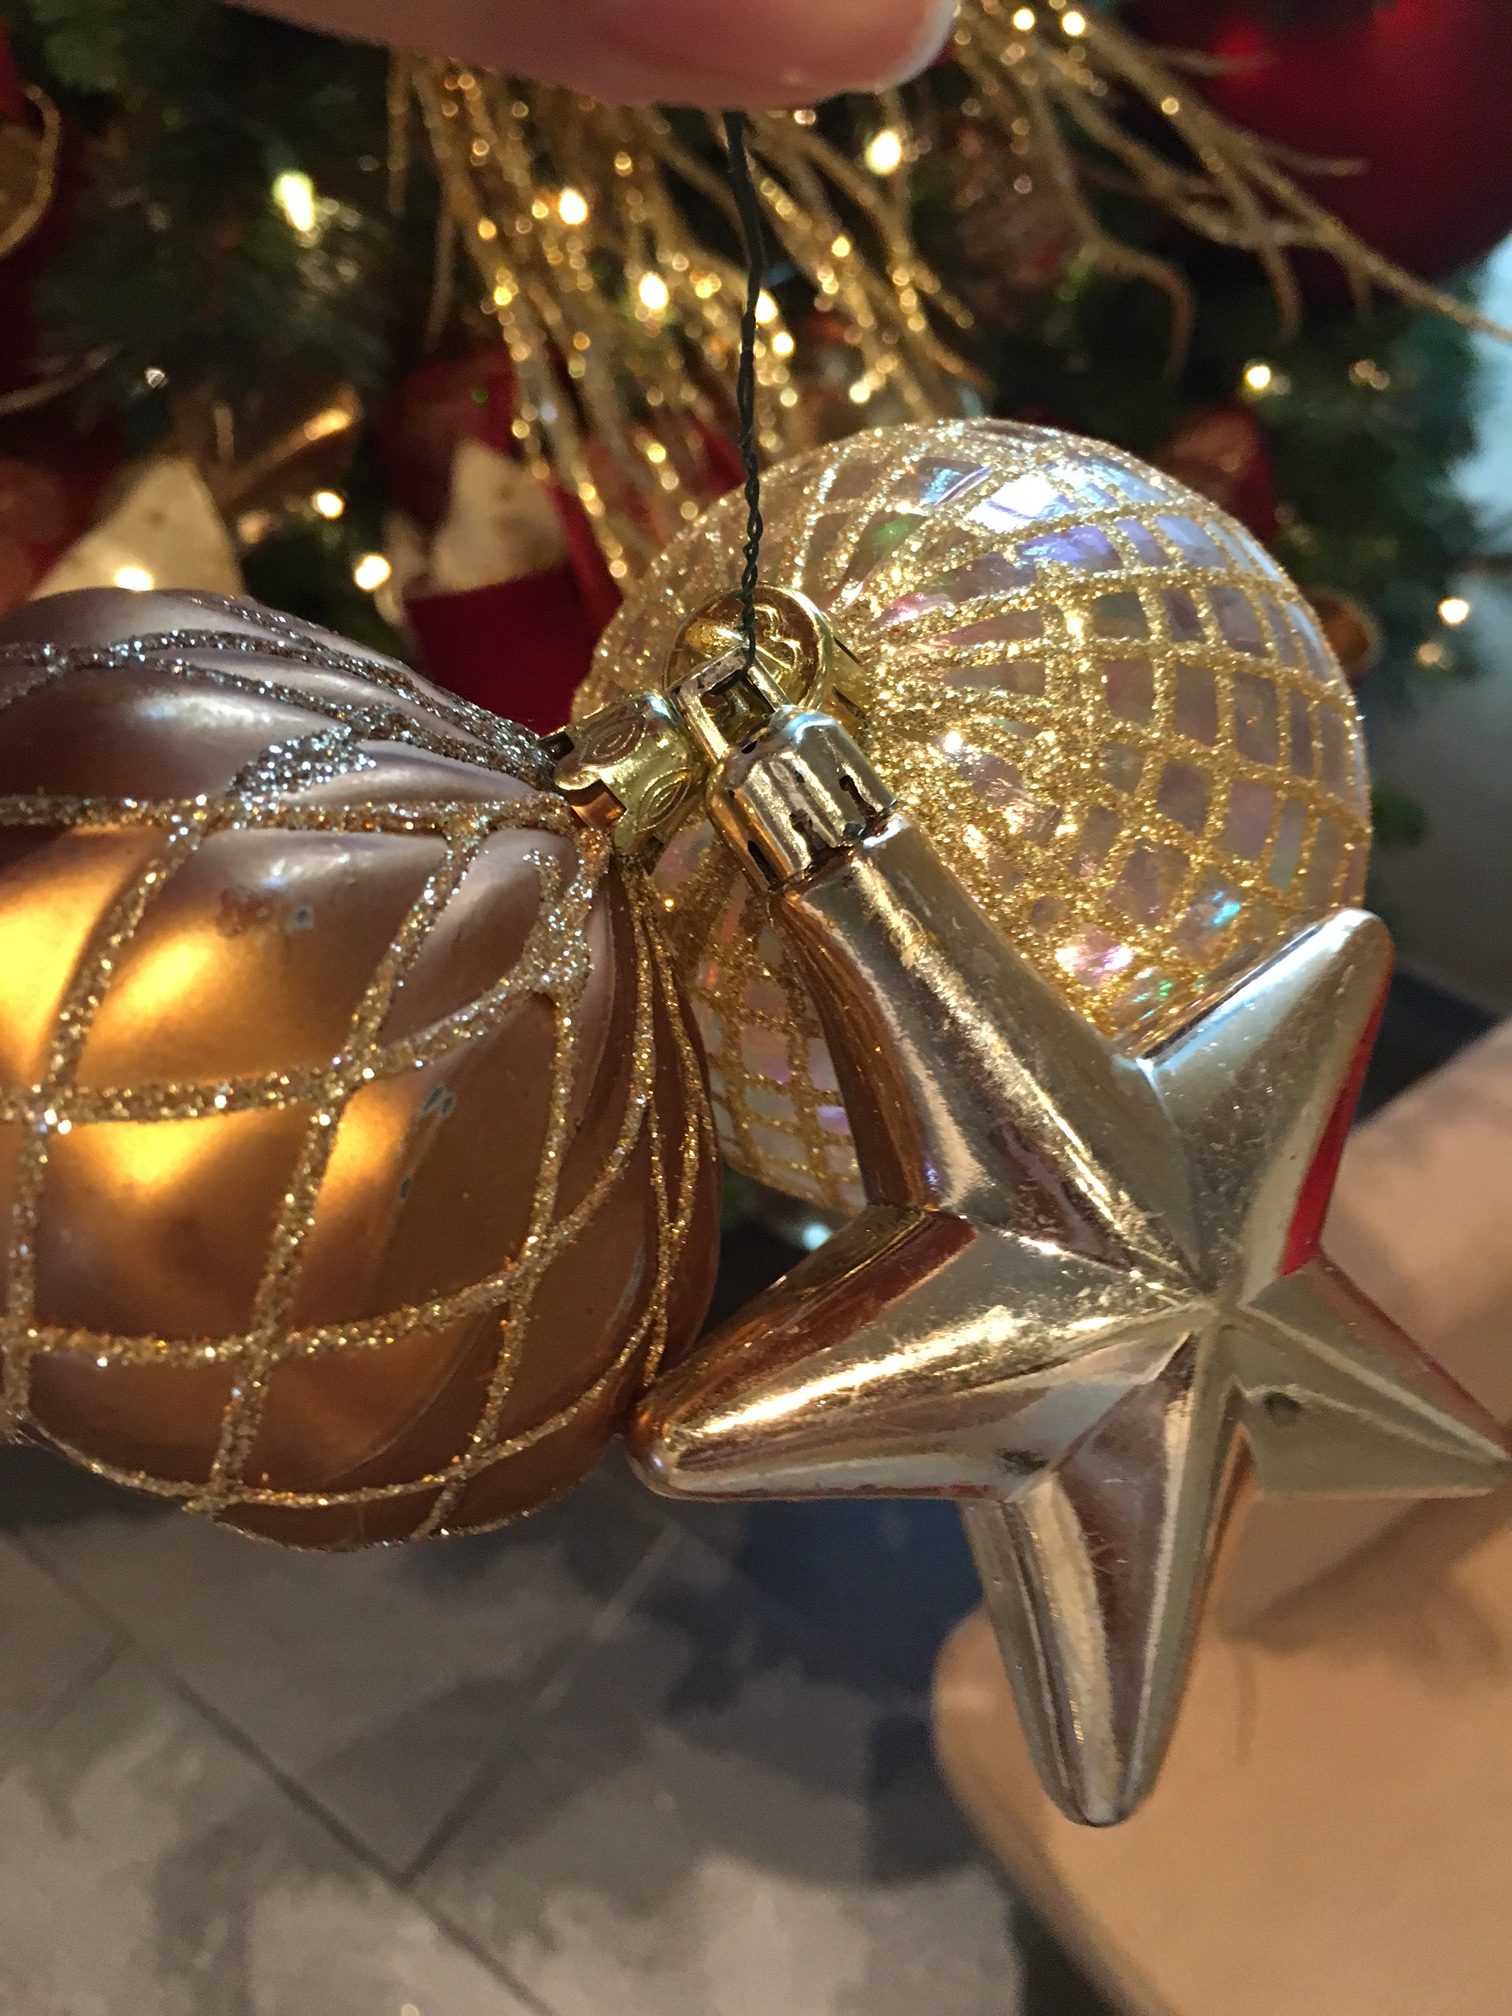

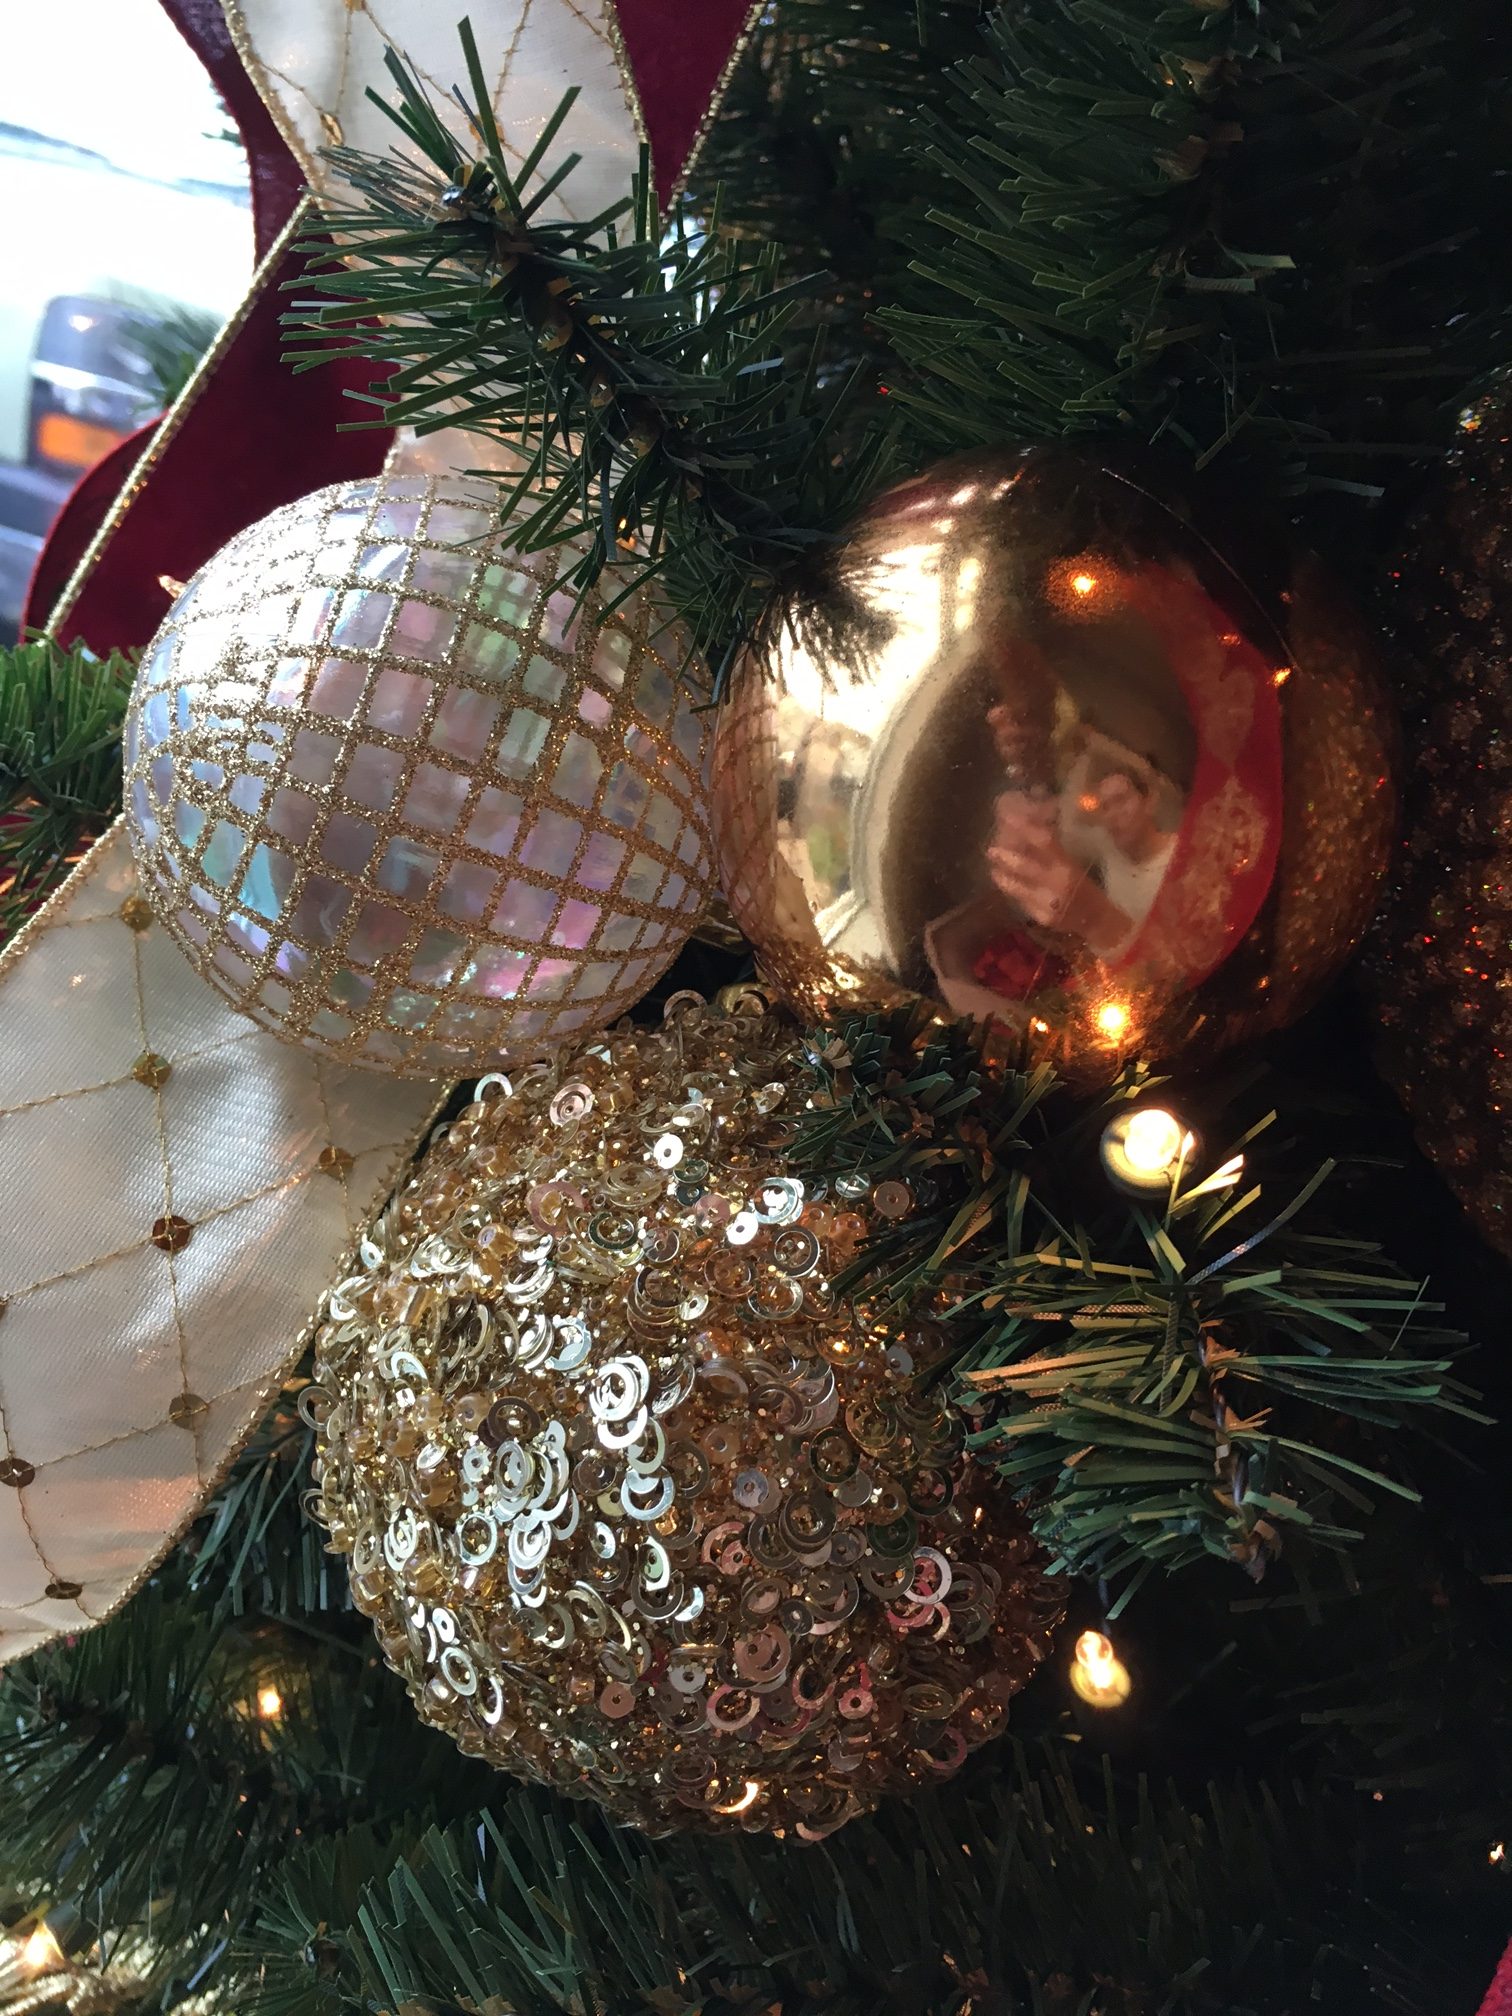
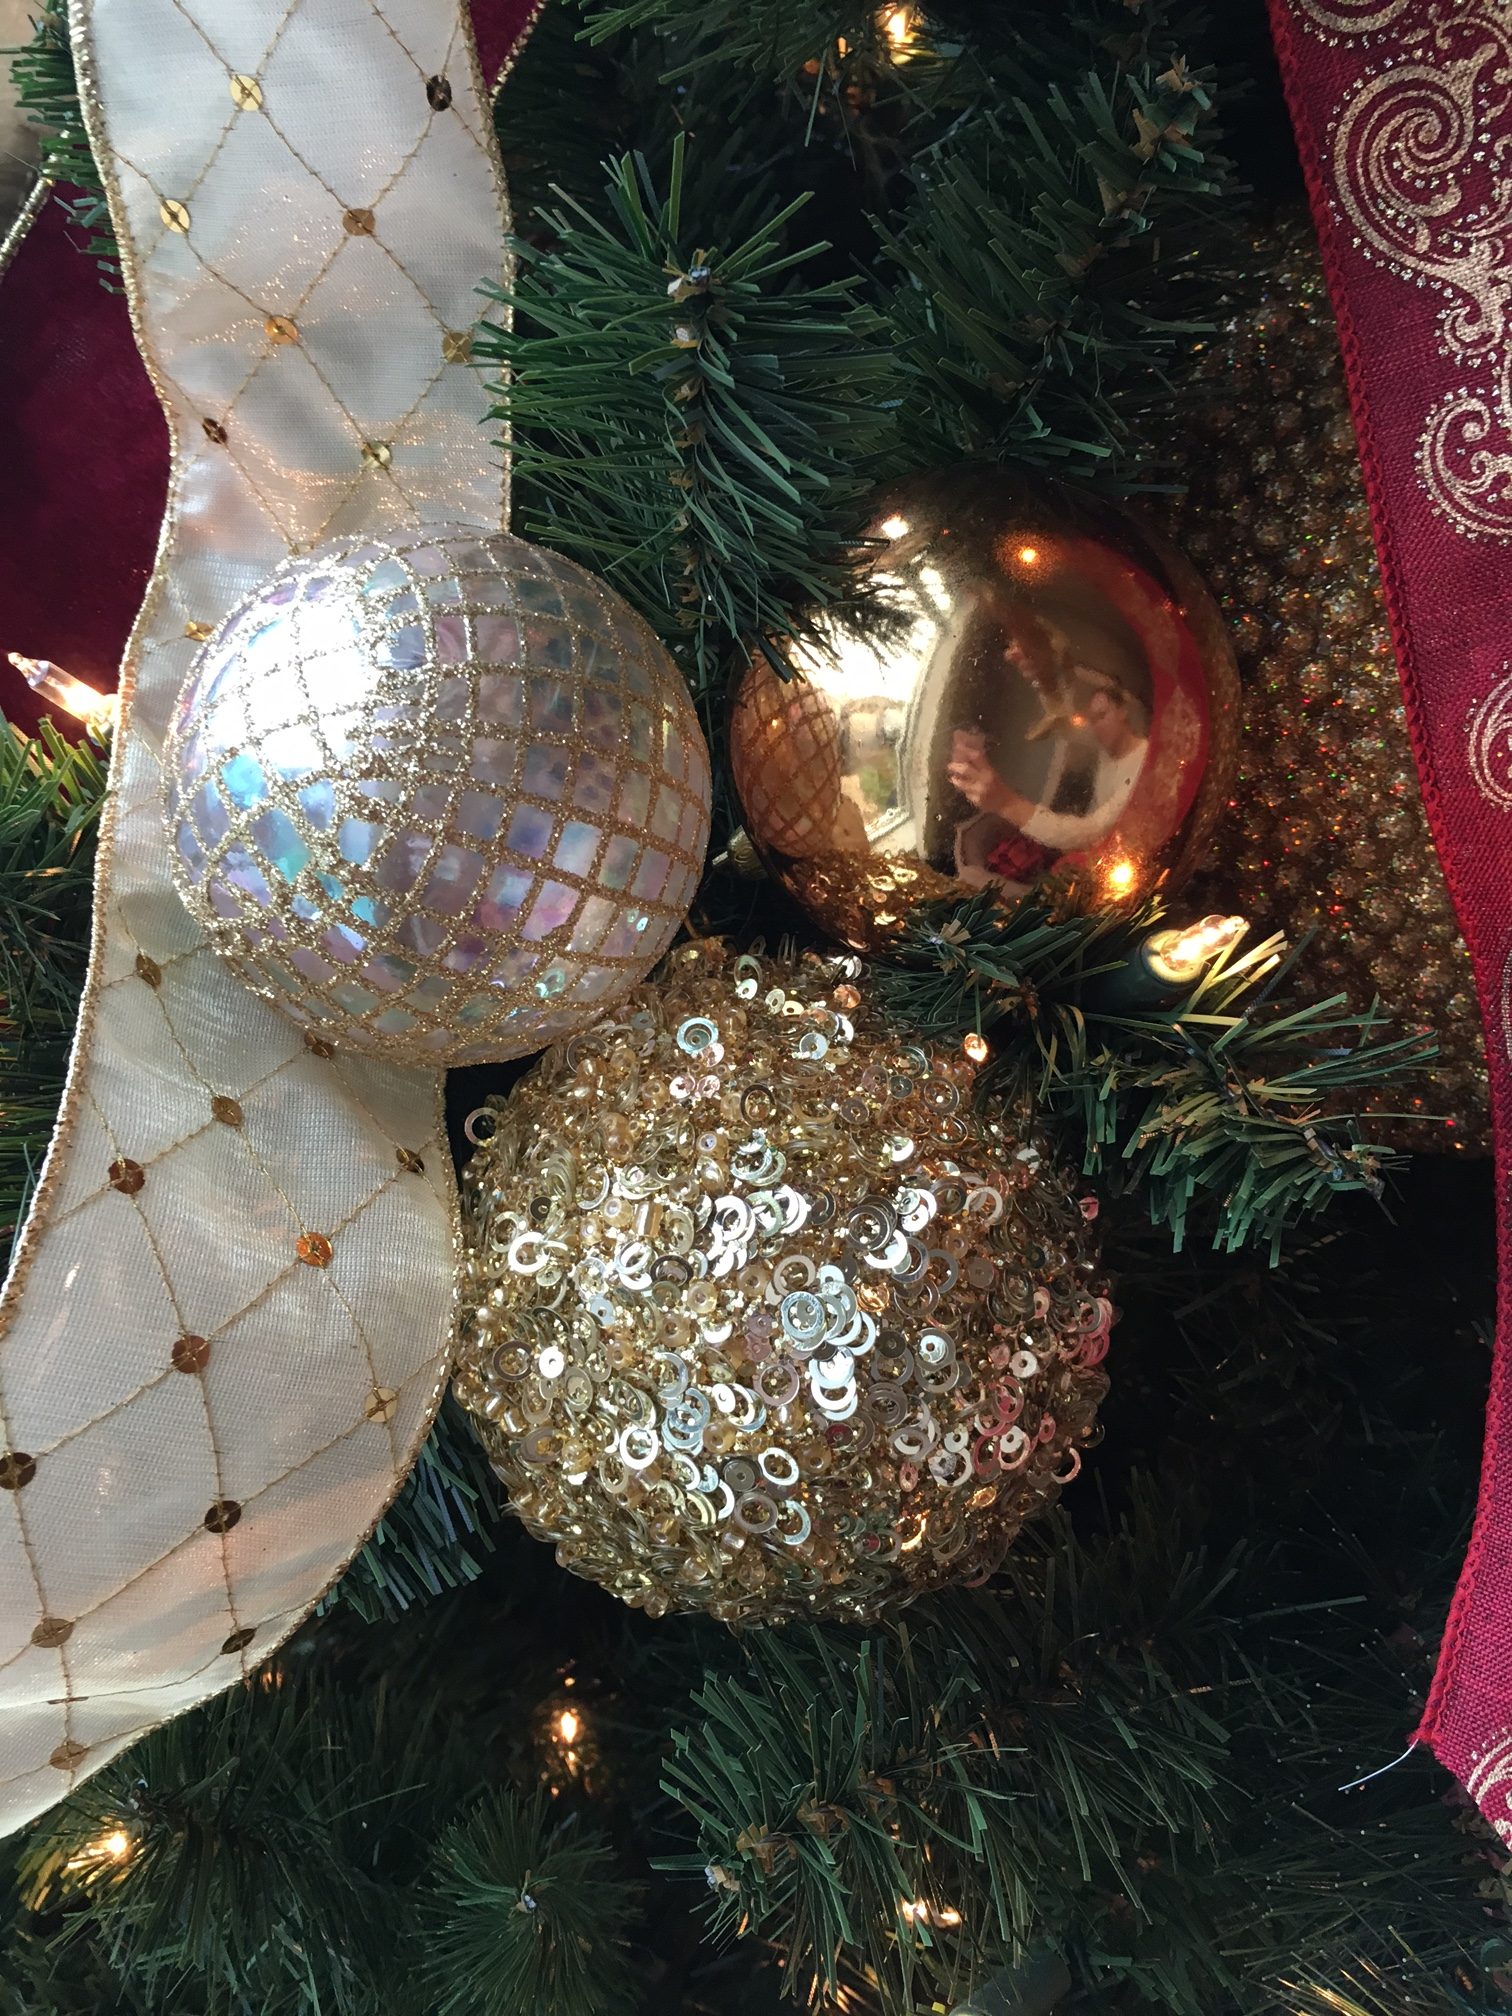
1. Group your ornaments into threes.
Take green floral wire and string on 3 different ornaments of different shapes, sizes, finishes, etc. Twist the wire to lock them together then use the rest of the wire to attach the grouping into the tree. This helps to give your tree texture, dimension, character as well as help to fill in large empty spaces. Rather than use a lot of small, individual ornaments, you will fill your tree further (or at least give the illusion) with your ornaments grouped in threes.
2. Make lush, full bows! (Use lots of ribbon!) Take 3-4 different kinds of wired ribbon (you can still do this with unwired ribbon but it’s harder to shape the bow. If you can’t find 3-4 different styles of wired ribbon that fit your color scheme or theme, make sure at least 1-2 of the prints are wired so as to create a framework for the other unwired ribbons to follow). Cut each style of ribbon to roughly 4-4 1/2 feet long. Layer the 3-4 styles on top of each other and starting from the middle create 2 “bunny ears” (throwing this back to kindergarten and learning to tie our shoes!).
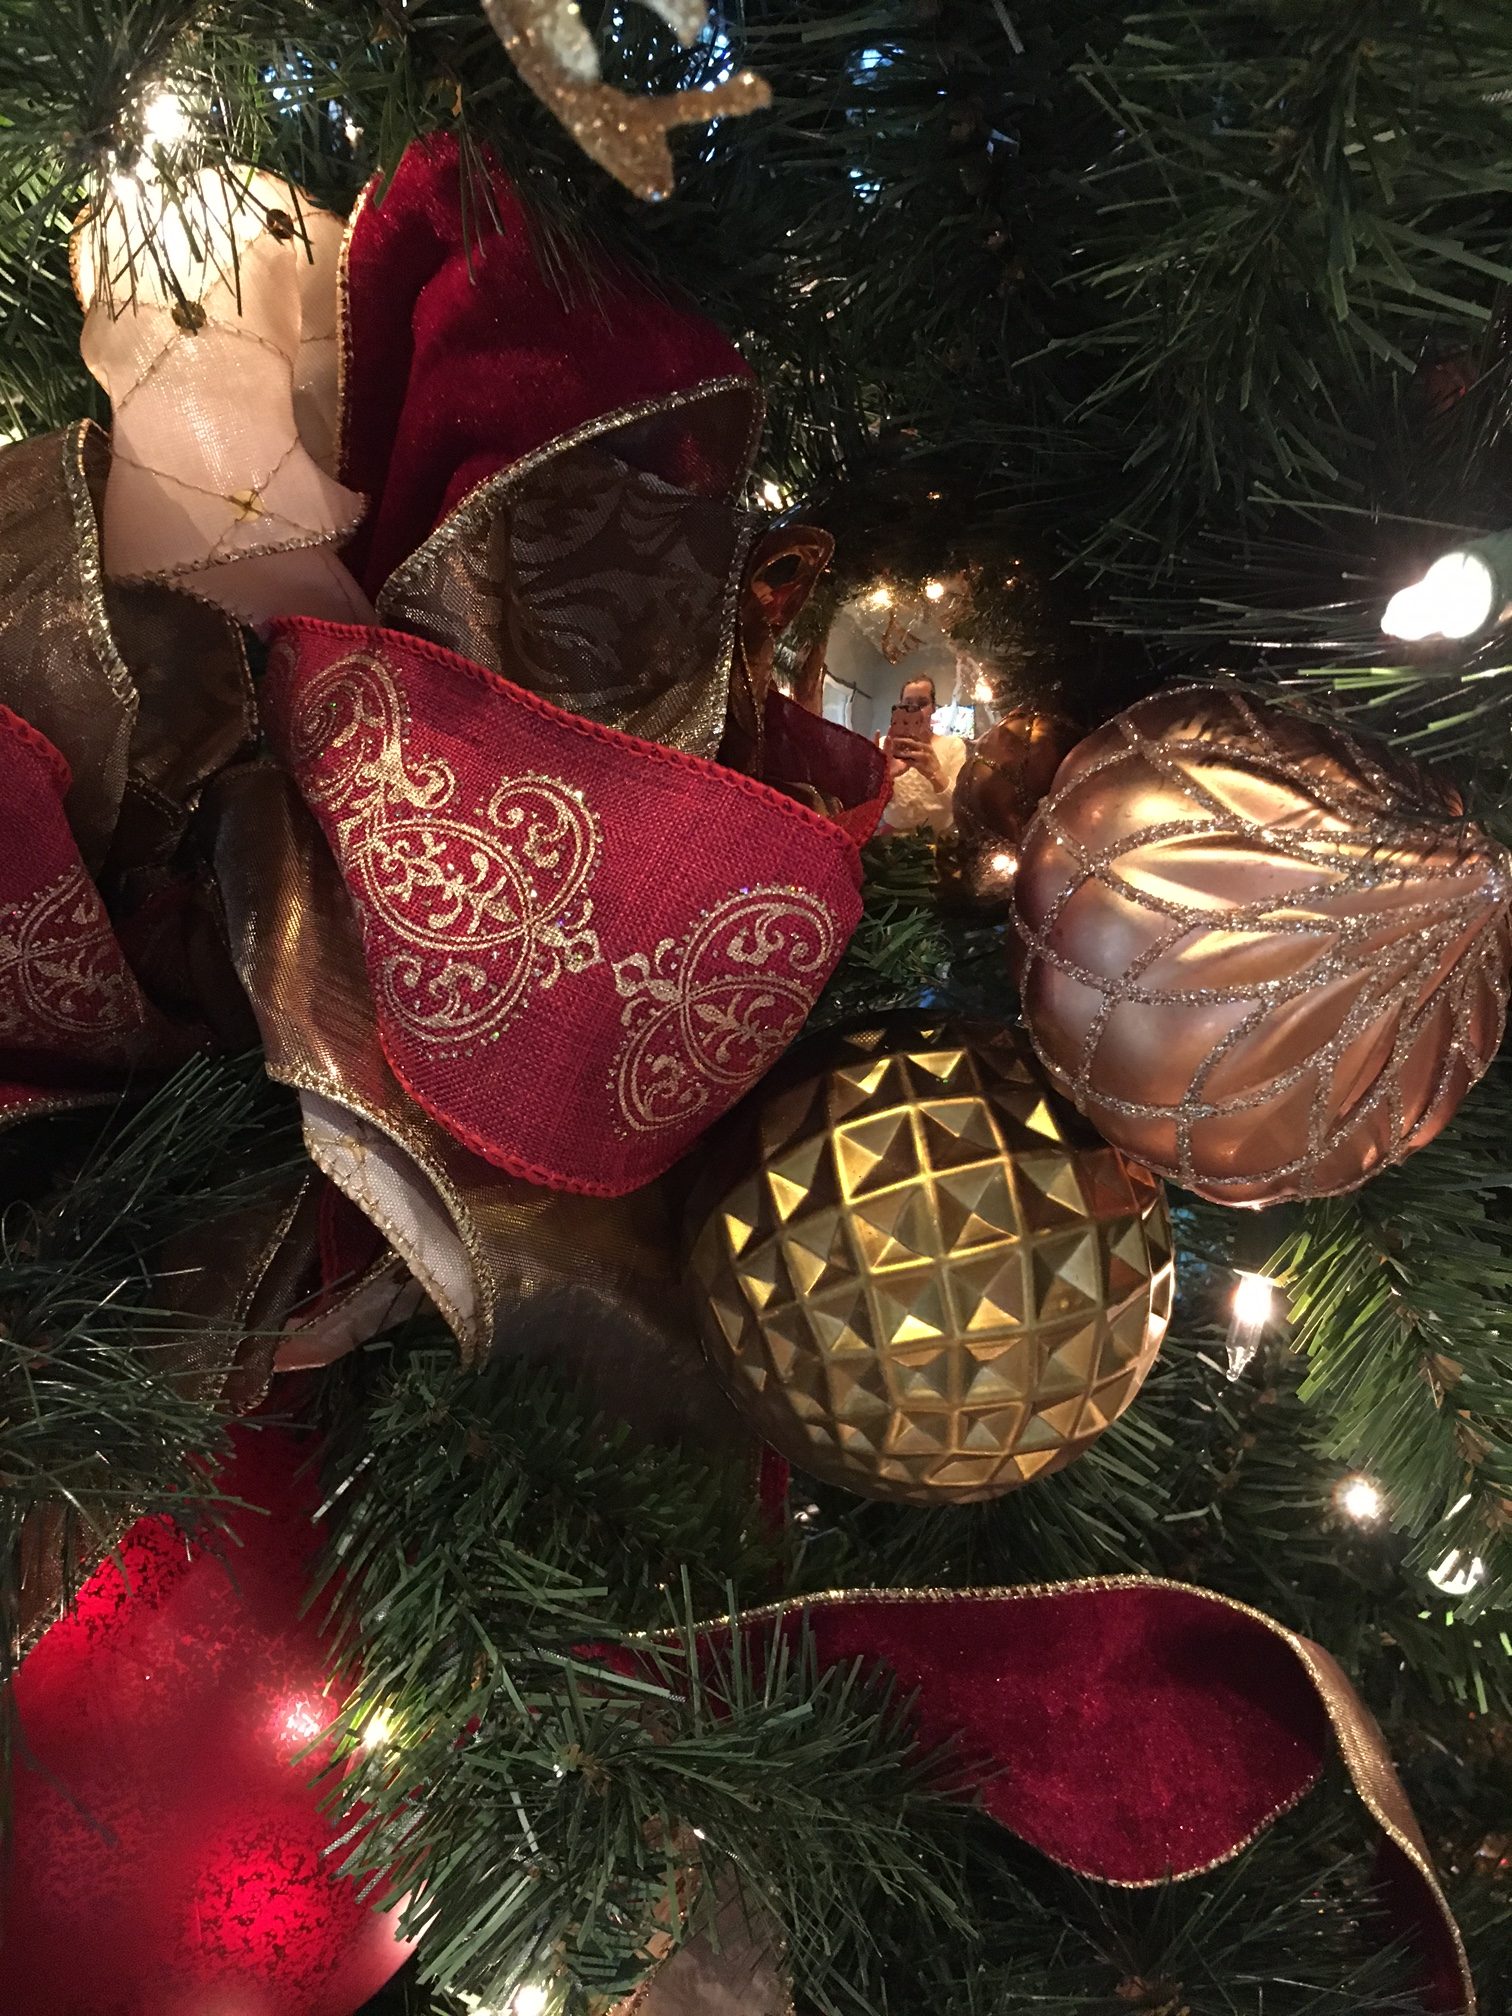

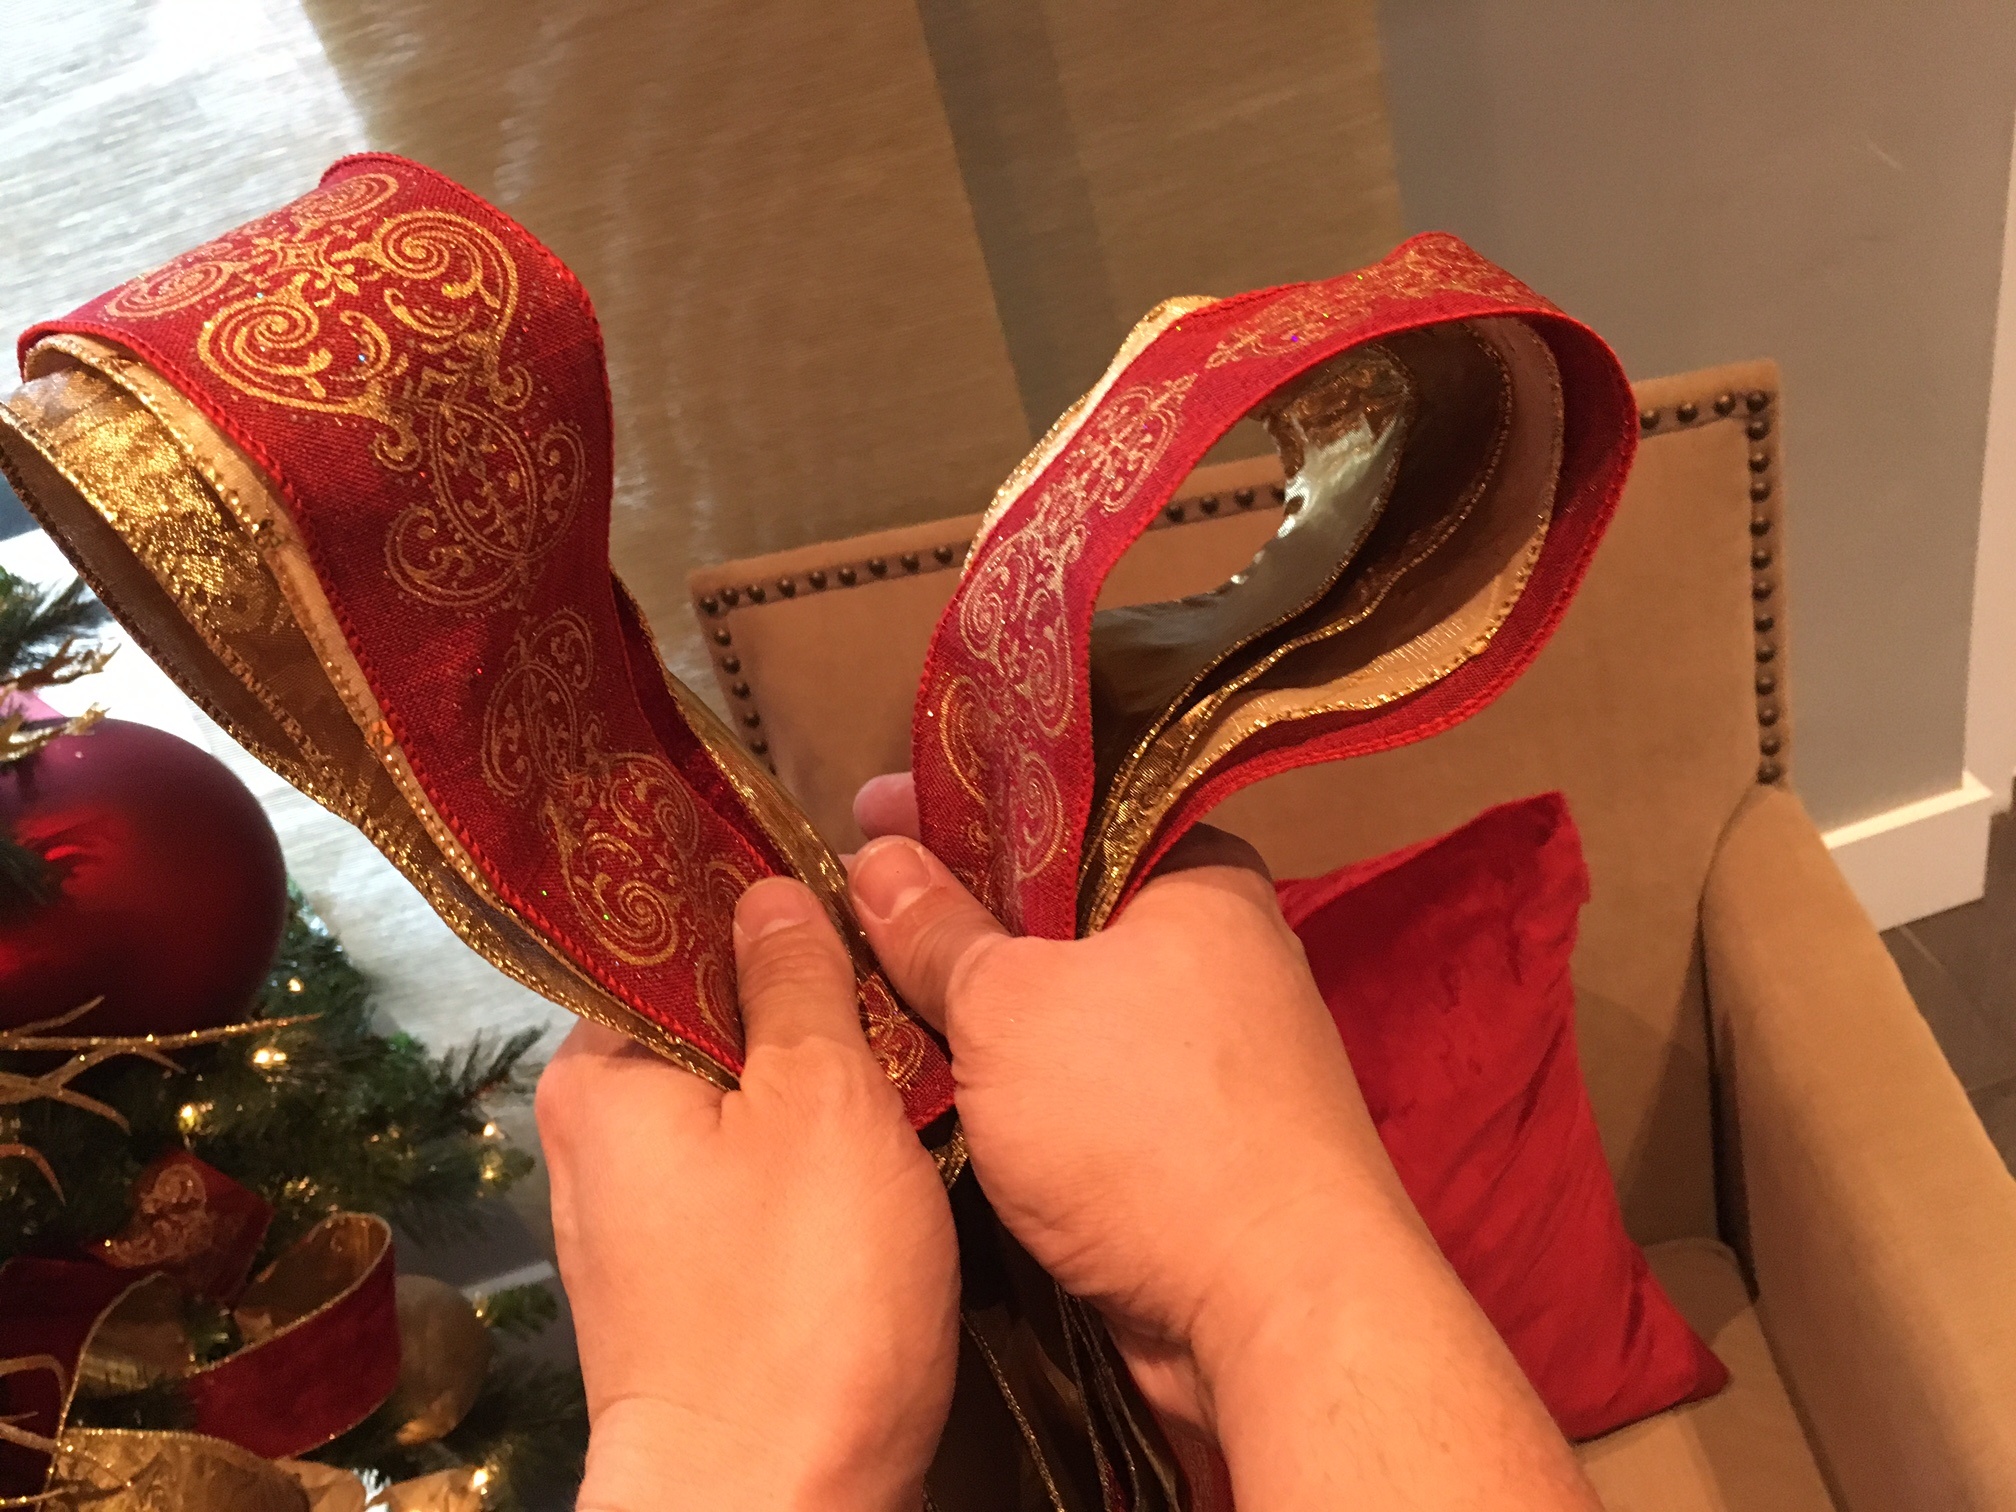
Fold one “ear” over the other and pull through the loop that results from that fold. This will be very bulky, don’t worry! You will adjust and make it pretty later. Pull the ear through the loop and start to tighten your basic “shoe lace” bow while adjusting the ribbons so they all come out evenly and lay decent. Spread out the 3-4 different styles on each side of your bow and begin to pull them to the top, bottom and outwards to the center. This is why a wired ribbon is so important – it helps you make it full and gorgeous!
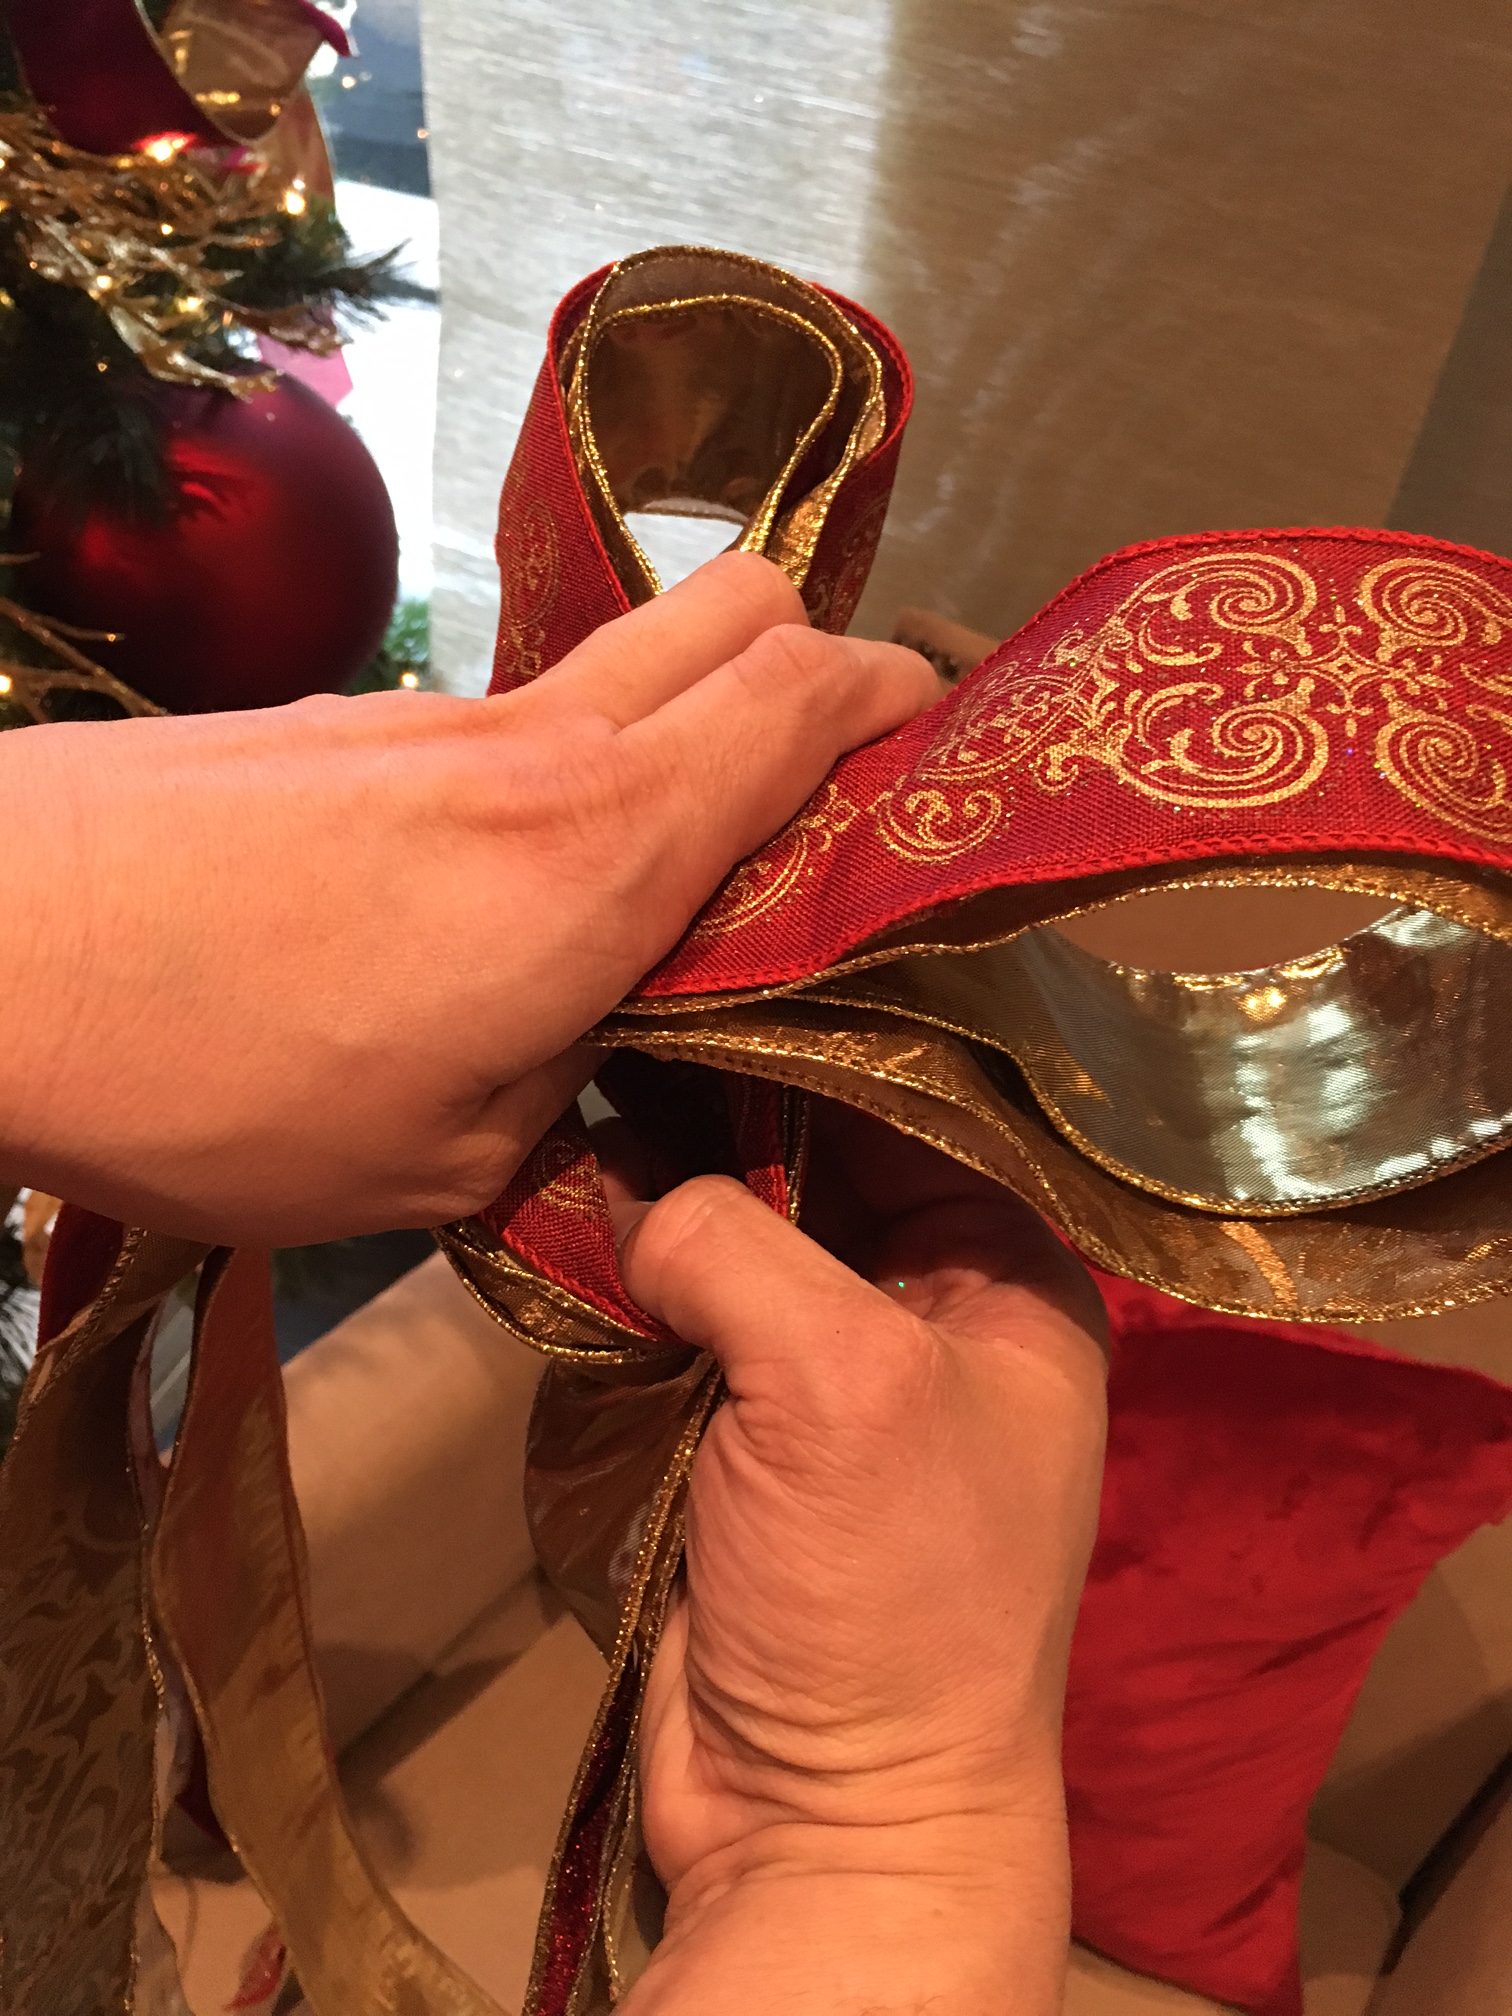
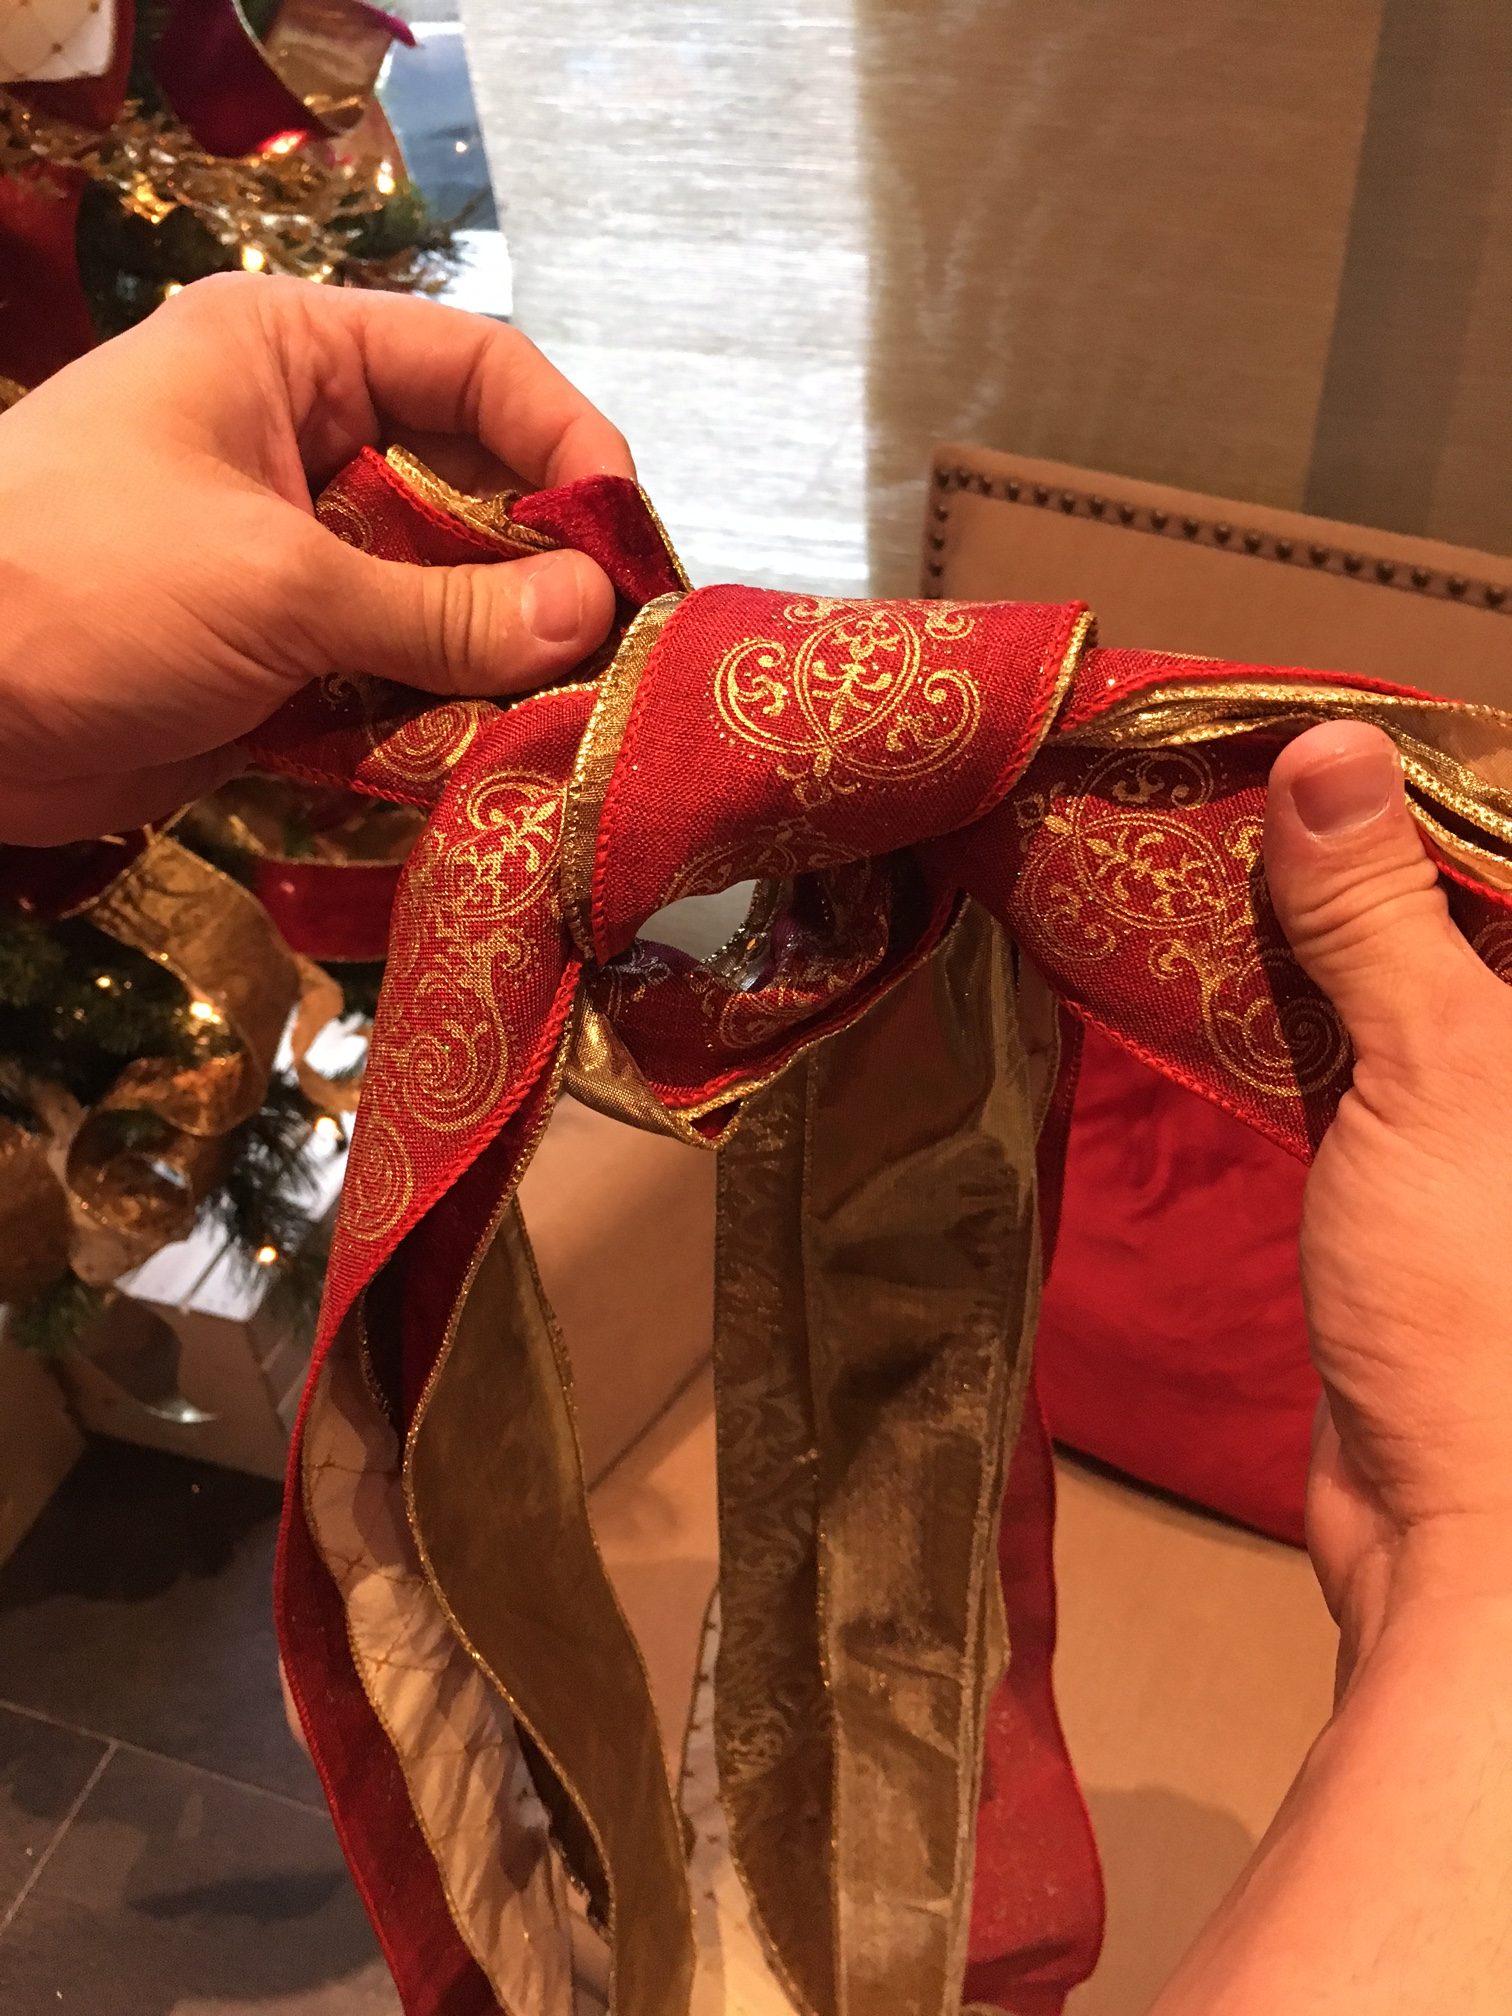
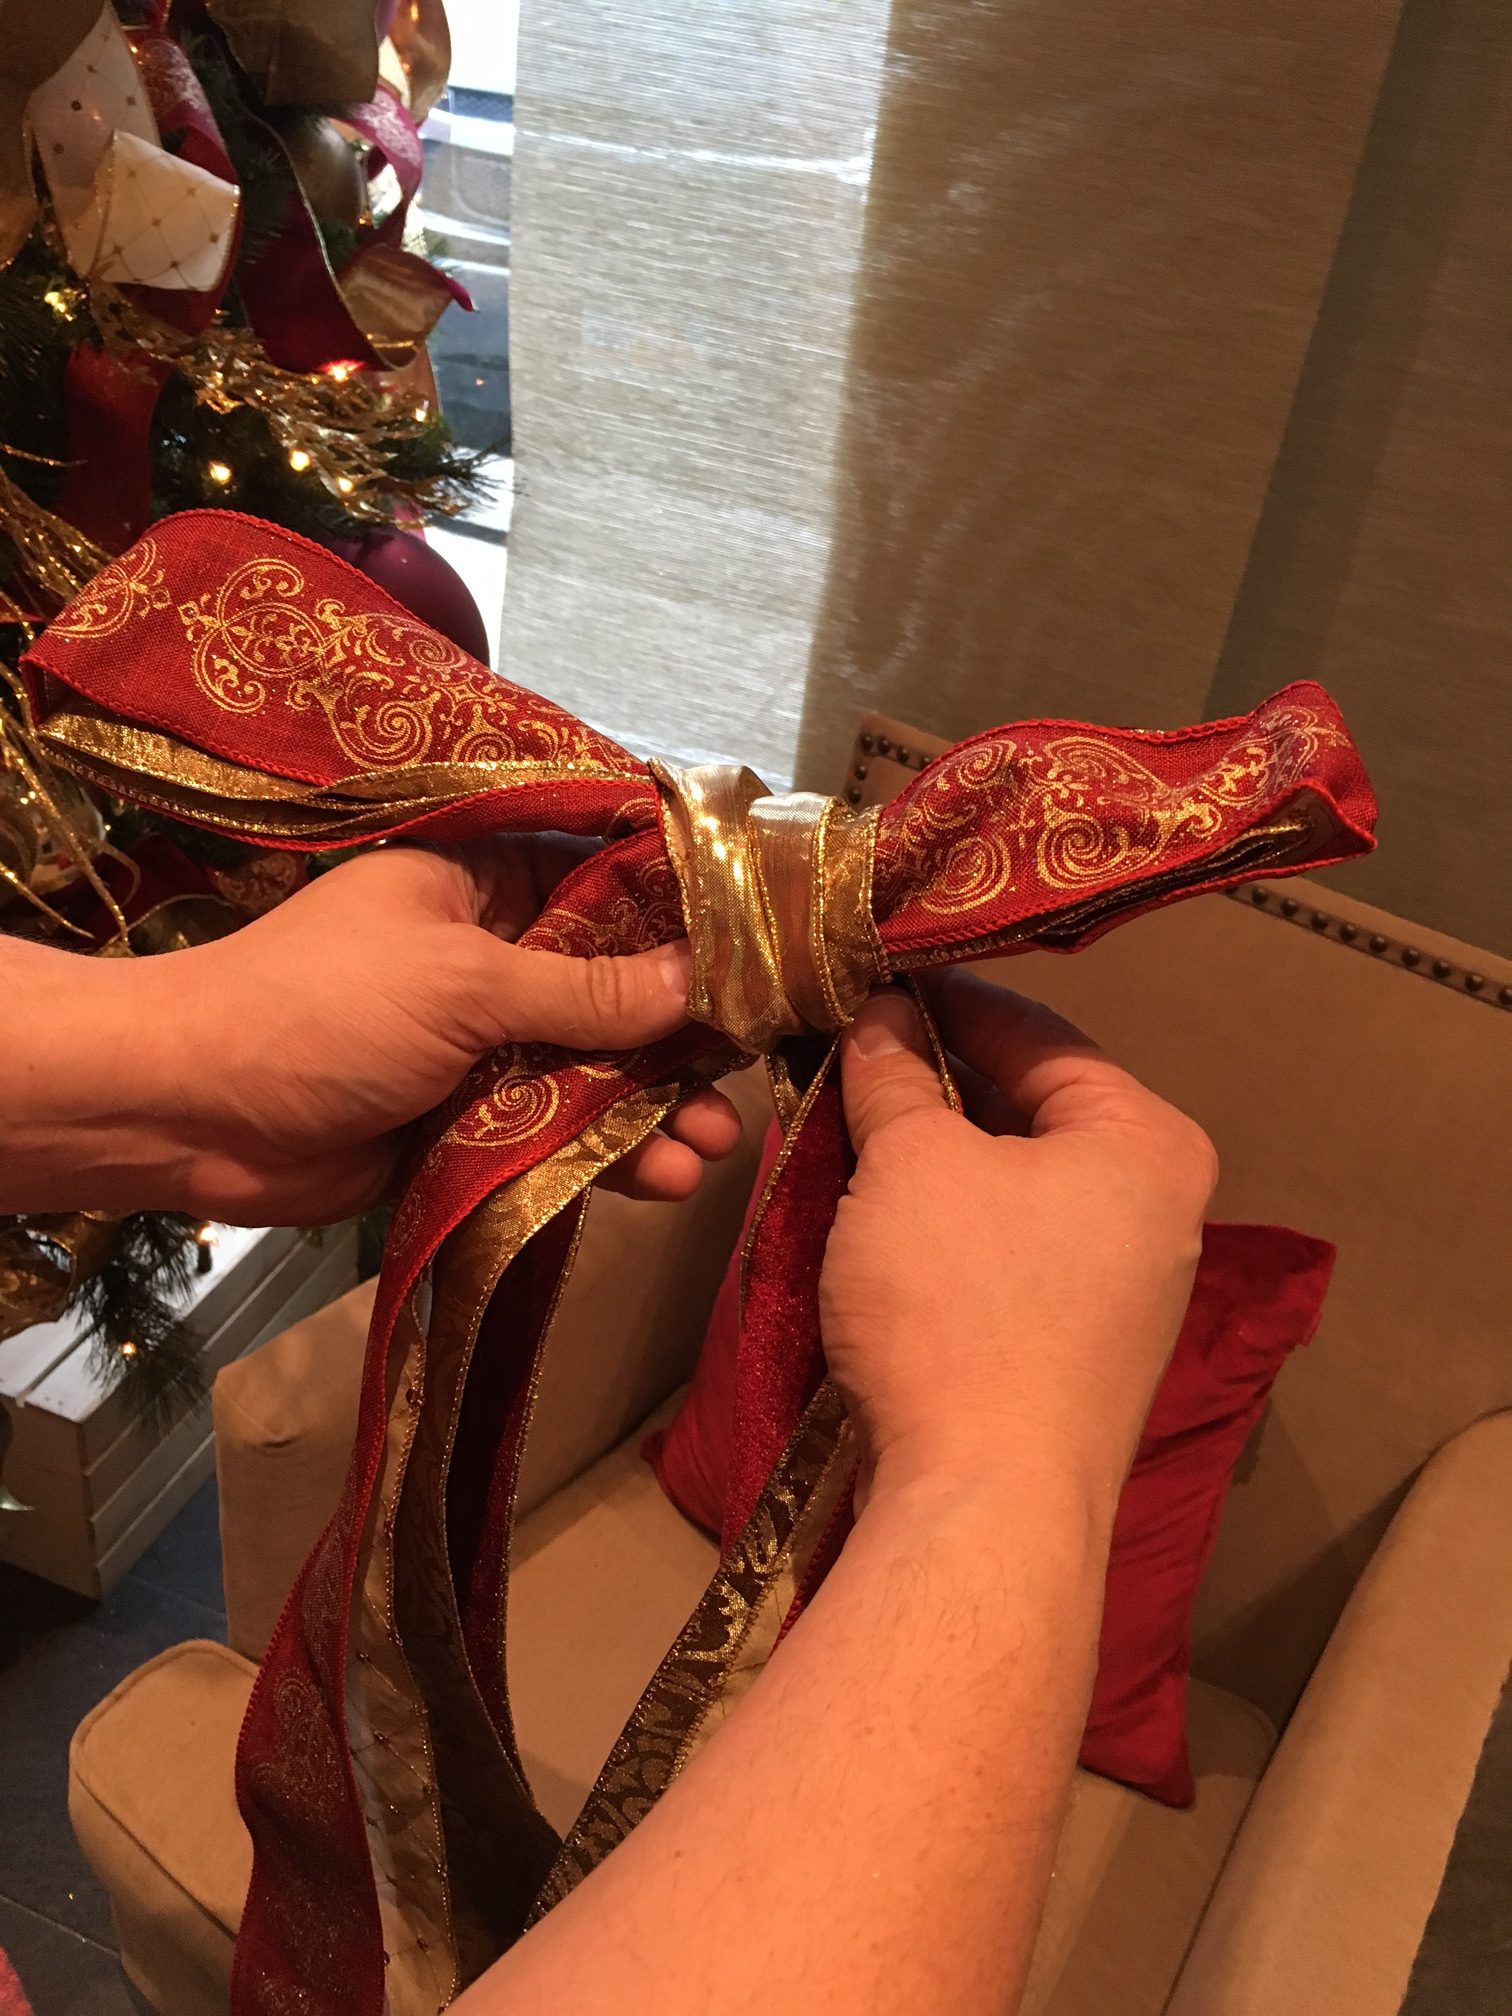

Tuck your bows into the boughs of your tree and continue to fluff each ribbon loop upwards, outwards and forwards to give it lots of depth and to fill it into it’s spot nicely. Next, take the tales and gently roll them until the delicate roll down the tree in coils. Again, this will be easier with wired ribbon.
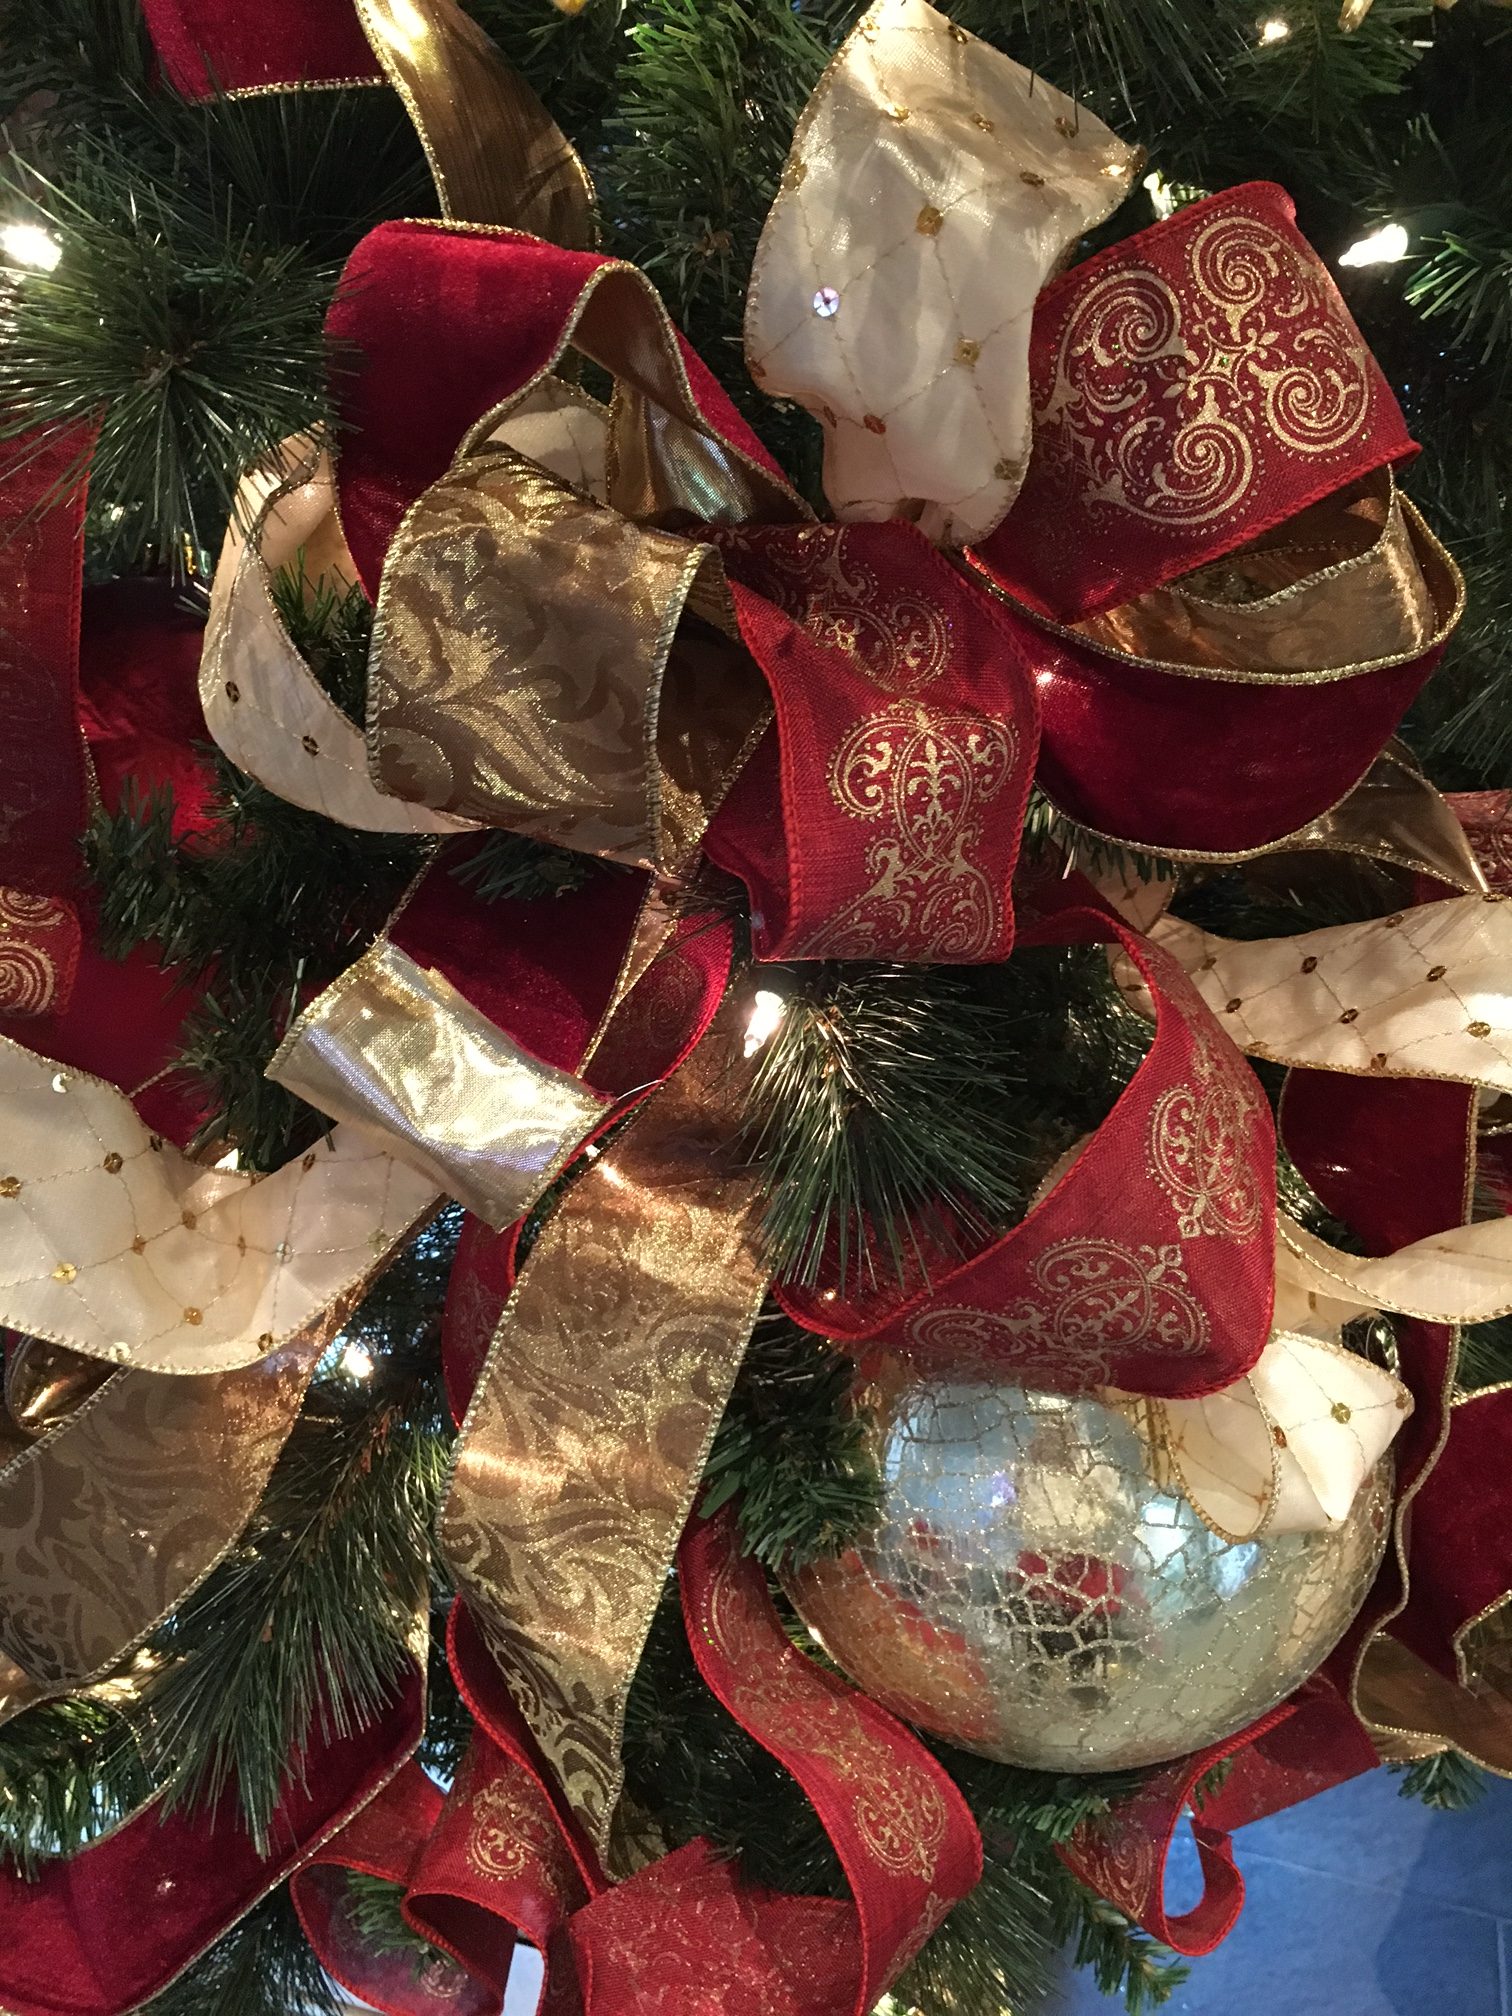
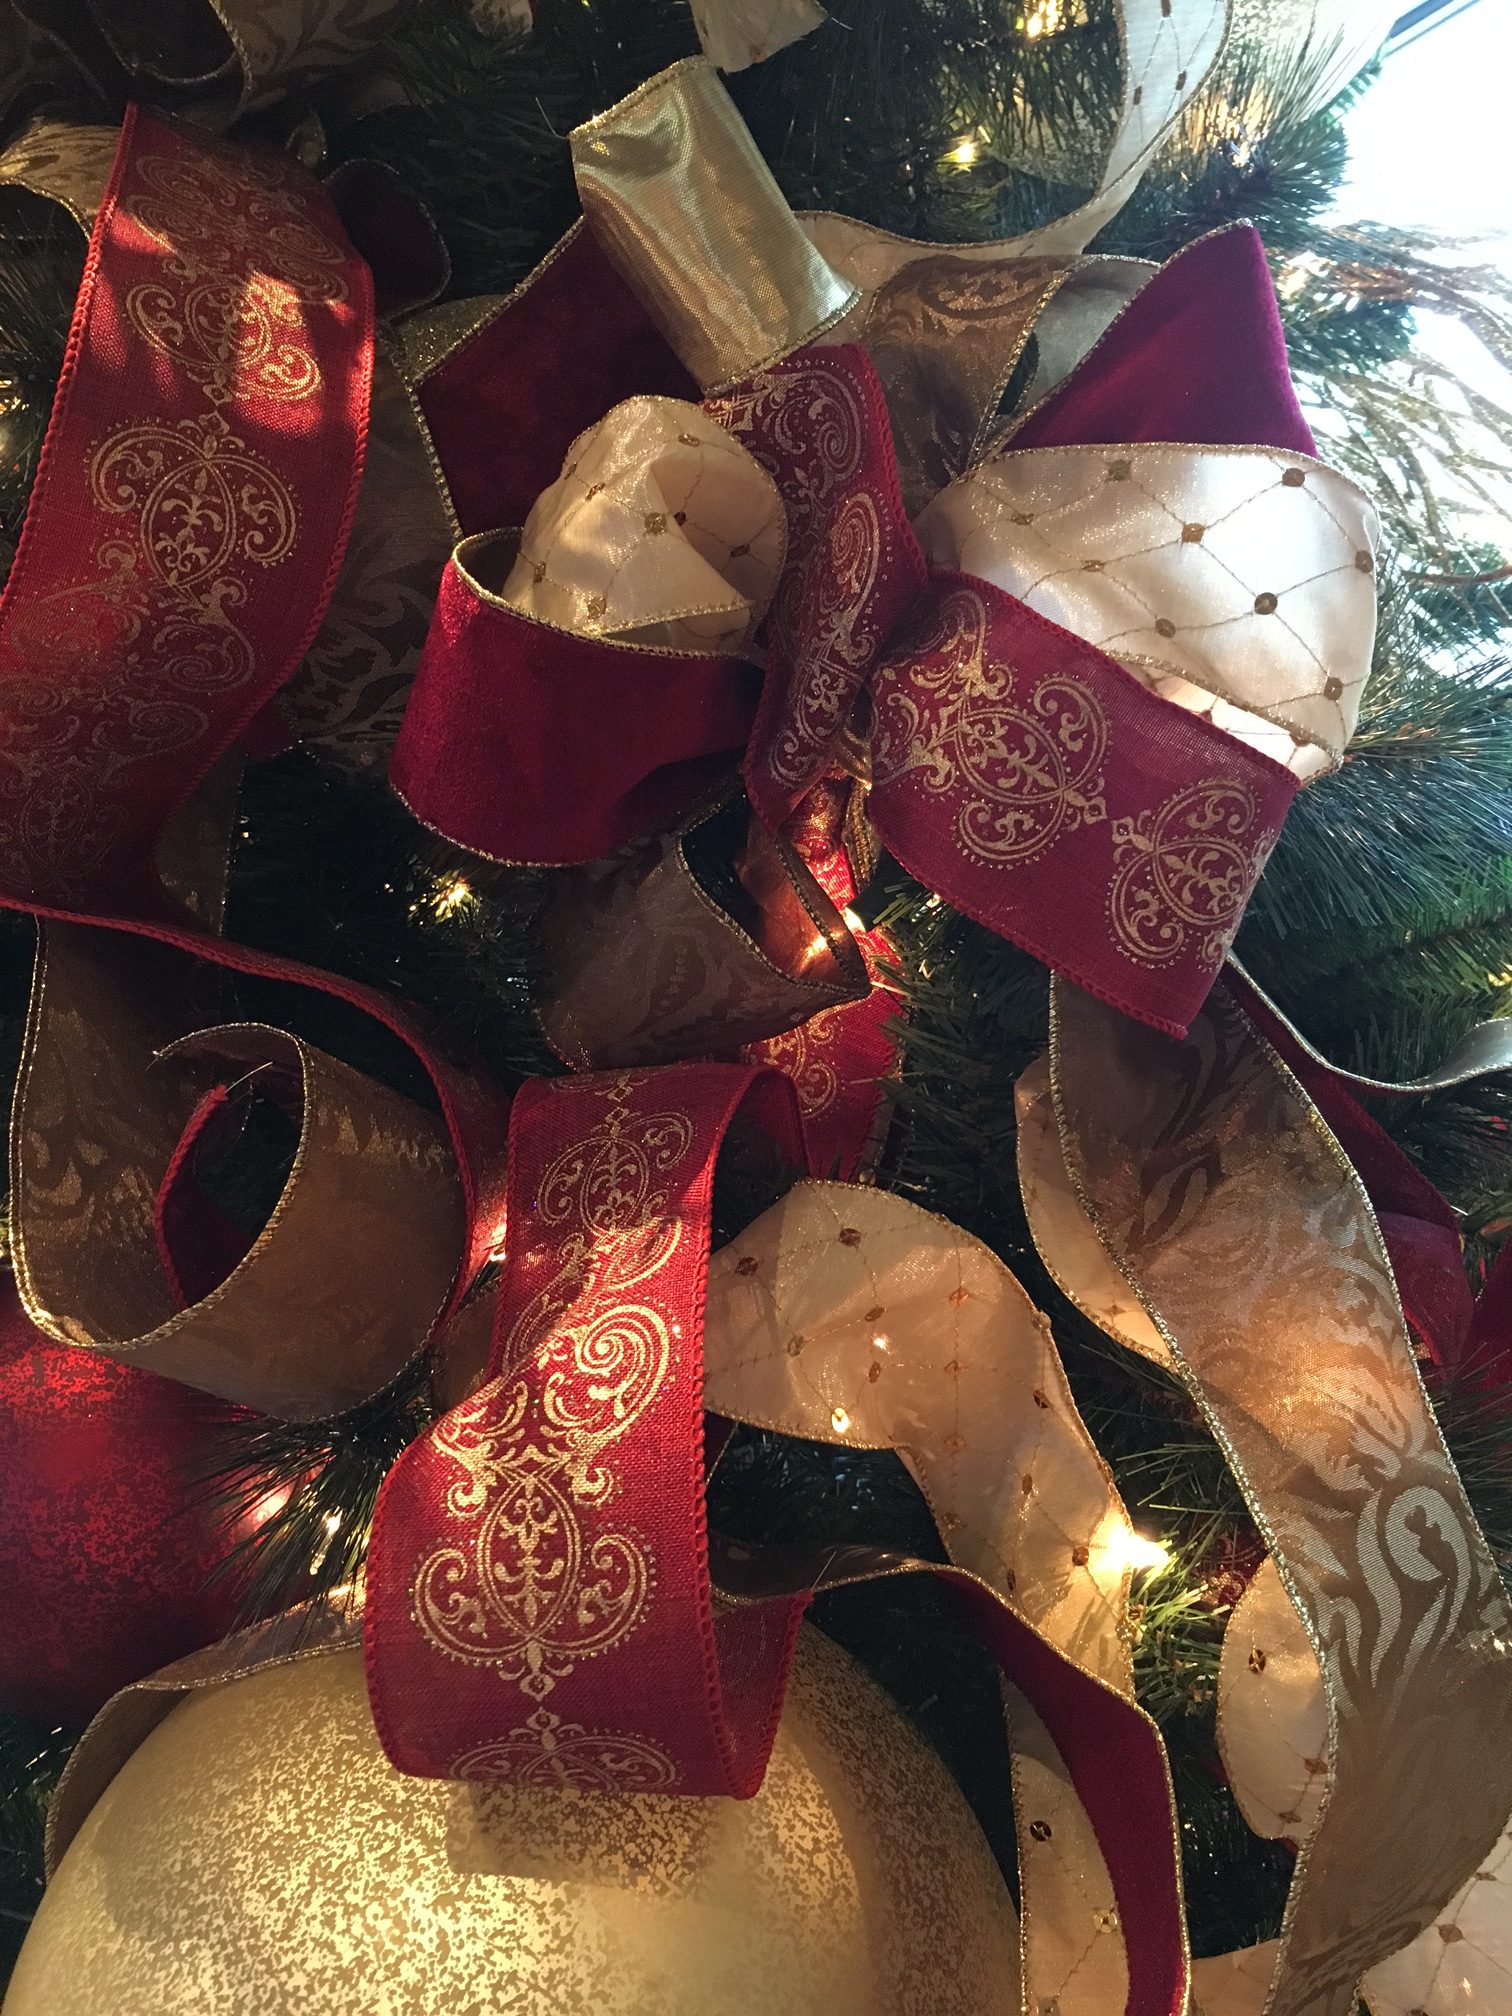
As you can see, a once forlorn and scraggly tree will look full, unique, lush and absolutely stunning! Continue to fill the tree with various other shaped ornaments that fit with your theme like birds, acorns, stars, pinecones, or even just really massive bulbs! And of course don’t forget the topper!
See the process in action with our neat time lapse of our in-house designers decorating our Christmas tree:
From the Lux Catering and Events team, we wish you the merriest holiday season!
